
To save roast profiles at home like a pro, use a cooling tray with proper airflow and placement. Immediately transfer beans to the tray after roasting, ensuring it’s positioned where airflow can circulate freely without obstruction. Keep the cooling process quick and even by monitoring the direction and speed of cooling, which helps preserve flavor and consistency. Want to master this simple hack? Keep exploring these tips to get the best results.
Key Takeaways
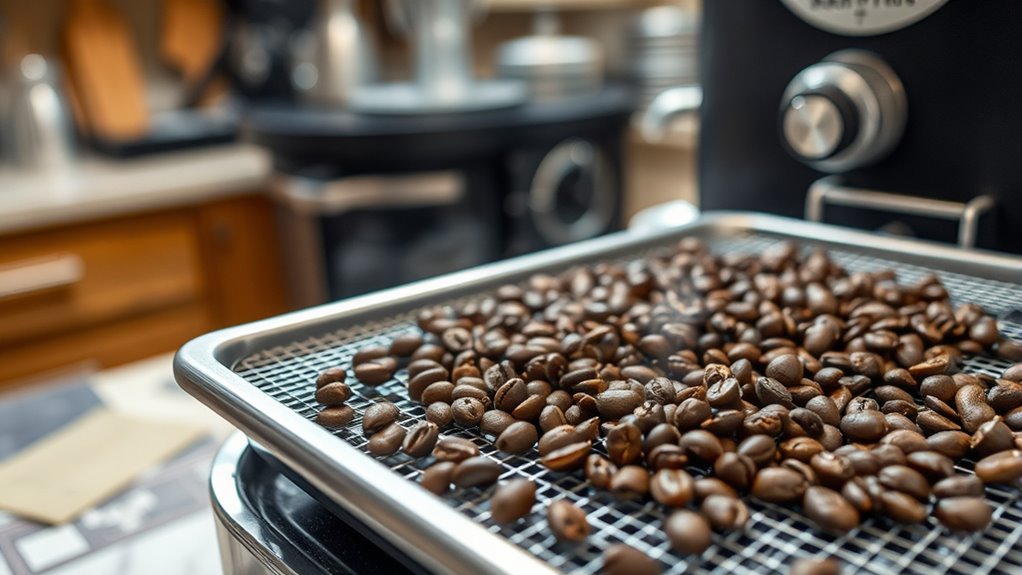
- Use a perforated or mesh cooling tray to maximize airflow and promote uniform cooling.
- Elevate the tray slightly to enhance air circulation around the beans.
- Avoid covering the tray tightly; keep ventilation unobstructed for faster heat dissipation.
- Monitor and control airflow during cooling to prevent residual heat from over-roasting beans.
- Regularly clean and maintain the tray to ensure consistent airflow and preserve roast profile integrity.

CAFEMASY 3 Pack Stainless Steel Coffee Roasting Cooling Mesh Pan Tray with 18pcs Coffee Bean Cupping Tray Coffee Roaster Accessories Tools for Baristas Coffee Roasting Lovers
- Pack Includes: 3 roasting cooling trays and 18 cupping trays
- High Capacity: Supports up to 1.5kg roasted beans
- Large Cooling Surface: Ideal for coffee shops and home use
As an affiliate, we earn on qualifying purchases.
As an affiliate, we earn on qualifying purchases.
Understanding the Role of Cooling Trays in Home Coffee Roasting
Cooling trays are essential for stopping the roasting process quickly and evenly. They help you maintain temperature stability by rapidly lowering the beans’ temperature, preventing over-roasting. Proper airflow management is vital here; a good cooling tray allows air to circulate around the beans, speeding up cooling and ensuring uniform results. When beans are transferred to the tray, consistent airflow helps dissipate heat efficiently, preserving the roast profile you’ve worked to develop. Without effective cooling, residual heat can continue to roast the beans, altering their flavor and souring your control over the process. Effective airflow and ensuring rapid temperature reduction are crucial for maintaining the integrity of your roast. By managing airflow and ensuring rapid temperature reduction, cooling trays give you greater control at the critical end of each roast, helping you achieve consistent, high-quality coffee every time.
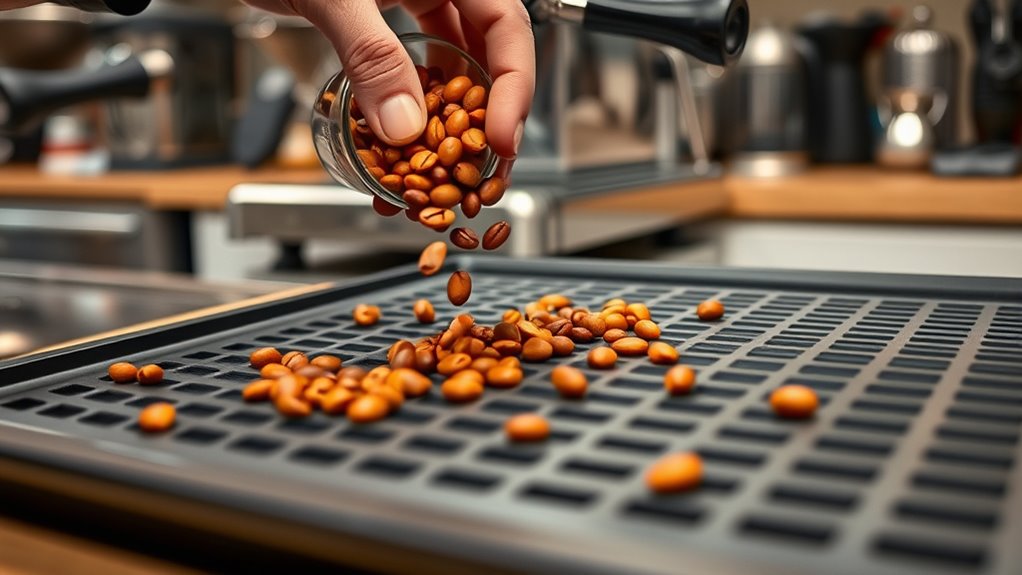
How to Set Up Your Cooling Tray for Optimal Results
Choosing the right material for your cooling tray is key to quick and even cooling. Make sure the tray is positioned where air can circulate freely around it to prevent heat buildup. Proper setup will help you achieve consistent results and keep your coffee fresh. Incorporating proper ventilation techniques can further enhance airflow and cooling efficiency.
Material Selection Tips
Selecting the right materials for your cooling tray is vital to guarantee efficient heat dissipation and maintain ideal coffee quality. Metal selection plays a pivotal role; you want a material with high heat resistance that won’t warp or transfer excessive heat. Stainless steel is a popular choice due to its durability and heat resistance, while aluminum offers quick cooling but less heat resistance. The right material ensures your tray cools beans evenly without affecting roast profiles. Considering the fire resistance of your materials can also enhance safety and performance during use.
Proper Tray Positioning
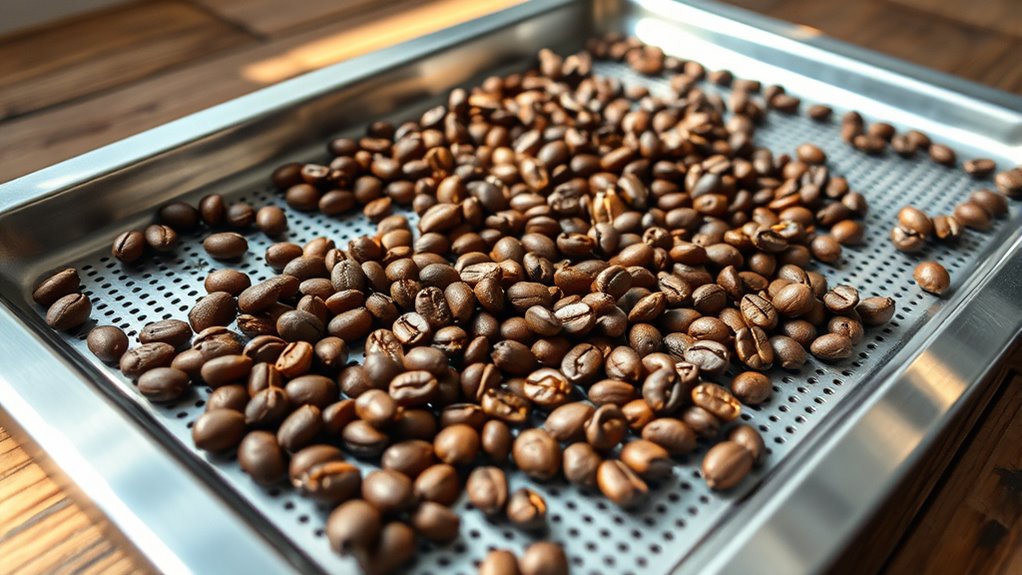
To achieve the best results with your cooling tray, proper positioning is essential. Start by choosing a tray material that conducts heat efficiently, like aluminum, to cool beans quickly and evenly. Make certain your tray size fits comfortably within your setup—too small, and beans may cluster, slowing cooling; too large, and it could be cumbersome to handle. Place the tray on a stable surface, keeping it flat to promote uniform airflow around the beans. Avoid overcrowding by spreading the roast in a single layer, which maximizes contact with the tray material and enhances heat transfer. Adjust the tray’s position to avoid direct sunlight or drafts, which can affect cooling speed. Using a contrast ratio in your setup can also help you monitor and optimize the cooling process, ensuring consistent roast profiles and achieving reliable results every time.
Step-by-Step Process for Using a Cooling Tray to Preserve Roast Profiles
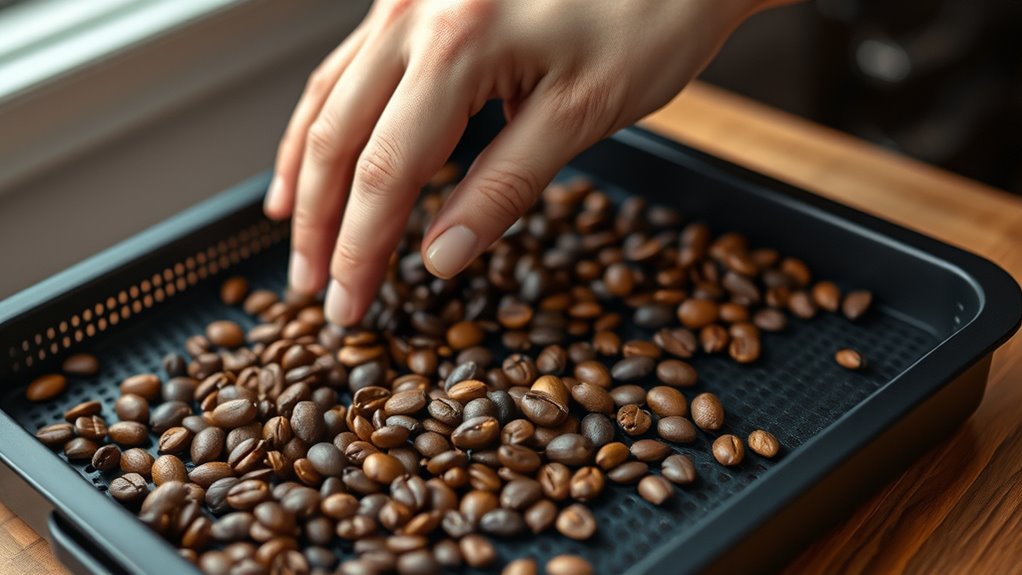
To effectively use a cooling tray, start by placing it properly to guarantee even airflow around the beans. Keep a close eye on the cooling duration to prevent over- or under-chilling your roast. This process helps preserve your roast profiles and maintains consistent quality.
Proper Tray Placement
When placing the cooling tray, make certain it’s positioned correctly to maximize heat transfer and preserve your roast’s profile. Ensure the tray is stable, with enough clearance for airflow to escape efficiently. Proper tray placement involves balancing insulation and airflow optimization, preventing heat buildup while cooling quickly. Additionally, understanding space maximization techniques can help you set up your roasting area more effectively. Below is a visual guide:
| Tray Position | Insulation Effect | Airflow Path | Result |
|---|---|---|---|
| Centered | Low | Direct airflow | Quick cooling, even profile |
| Slightly elevated | Moderate | Unobstructed | Prevents heat trapping |
| Close to heat source | Minimal | Restricted | Slower cooling, profile loss |
| Rear of tray | High | Limited | Insulation slows cooling |
Positioning is key: optimize airflow and tray insulation for consistent roast profiles.
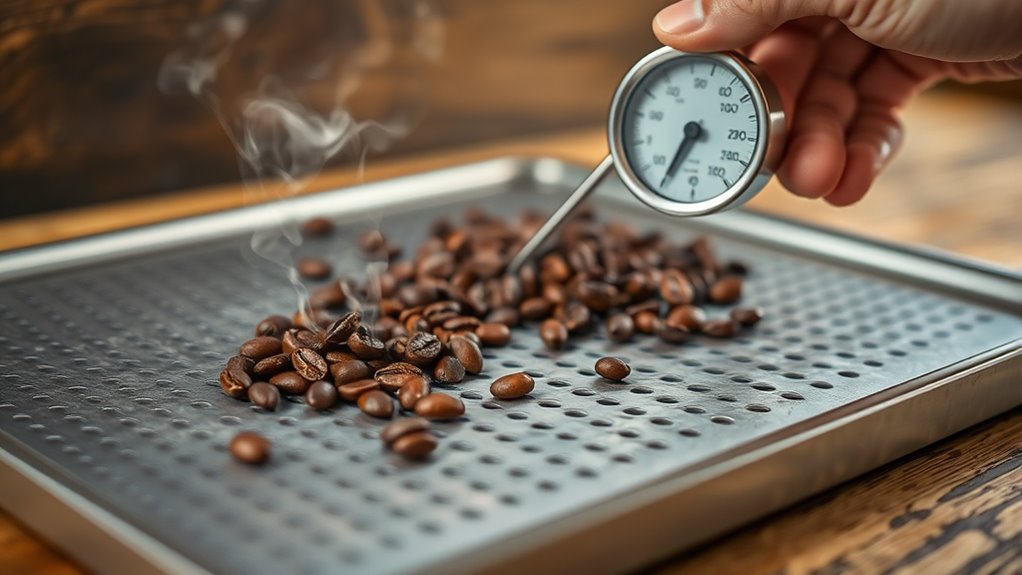
Monitoring Cooling Duration
After positioning the cooling tray correctly, keeping a close eye on the cooling duration guarantees your roast maintains its desired profile. The key to effective roast preservation is timing. Typically, you should monitor the cooling process for about 2 to 4 minutes, depending on the roast level and your preferences. Using a timer helps ensure consistency, preventing overcooling that can alter flavor profiles. As soon as the desired cooling time is reached, transfer the beans out of the cooling tray promptly. This prevents continued cooling that might affect the roast’s development. Regularly tracking cooling duration allows you to replicate successful roast profiles and fine-tune your process for ideal roast preservation each time. Staying attentive during this stage is vital for maintaining flavor integrity. Additionally, understanding how sound vibrations influence cellular processes can inspire new techniques for controlling roast outcomes.
Benefits of Using a Cooling Tray for Consistency and Flavor Preservation
Using a cooling tray helps baristas maintain consistency in their drinks and preserve ideal flavor profiles. When you use a cooling tray, it promotes better flavor retention by cooling the beans quickly and evenly, preventing over-roasting or uneven cooling that can distort taste. This rapid cooling process ensures each batch reaches the same temperature and moisture levels, enhancing consistency across roasts. Consistency enhancement is vital for developing reliable flavor profiles, especially when experimenting with new beans or roast levels. A cooling tray also minimizes the risk of flavor degradation caused by residual heat, helping you preserve the beans’ fresh, nuanced qualities. Incorporating proper cooling techniques can further optimize the preservation process. Fundamentally, it’s a simple tool that supports precise control over your roast’s final stage, leading to better-tasting coffee every time.
Tips for Maintaining Your Cooling Tray and Achieving Better Roasting Outcomes

To guarantee your cooling tray performs ideally and helps you achieve better roasting results, regular maintenance is essential. Start with simple diy modifications, like adding a non-stick surface or improved airflow features, to enhance efficiency. Regular cleaning techniques are vital—wipe down the tray after each use to remove residue and prevent buildup that can affect cooling performance. Use a mild detergent and soft brush to thoroughly clean the tray, paying special attention to corners and vents. Check for any signs of rust or corrosion, and address them promptly. Maintaining your cooling tray with these tips ensures consistent cooling, preserves its longevity, and ultimately leads to more precise roast profiles. Incorporating proper maintenance practices can significantly improve your setup’s reliability and your coffee flavors’ quality. Consistent upkeep keeps your setup reliable and your coffee flavors optimized.
Common Mistakes to Avoid When Using a Cooling Tray at Home
One common mistake is neglecting proper airflow during cooling, which can lead to uneven temperature distribution and longer cooling times. Without enough airflow, the roast might not cool quickly enough, causing the roast temperature to stay high longer than necessary. This slows down the cooling speed and can affect your roast profile. Additionally, inconsistent airflow may result in uneven cooling, risking flavor development issues or over-roasting certain beans. To avoid this, ensure your cooling tray has adequate ventilation and avoid covering it tightly. Keep the airflow steady and unobstructed for ideal cooling. Proper airflow helps achieve a consistent cooling speed, preserving your desired roast temperature and preventing unnecessary heat retention that could compromise the quality of your roast. Dog names can also reflect personality traits that influence how your dog responds to cooling and handling.
Frequently Asked Questions
Can I Use Any Tray as a Cooling Tray for Coffee Roasting?
You can’t just use any tray as a cooling tray for coffee roasting because tray material affects cooling speed. Metal trays, especially those with good thermal conductivity like aluminum, cool beans faster, helping you control the roast profile. Avoid plastic or glass trays, as they don’t transfer heat efficiently and slow cooling. For best results, choose a metal tray with shallow sides to maximize cooling speed and prevent over-roasting.
How Long Should I Cool Coffee Beans on the Tray?
Think of cooling your beans as hitting pause after a fiery dance. You should cool coffee beans on the tray for about 5 to 10 minutes, aiming for the ideal duration to halt the roast’s progression. Keep a close eye, and once the beans stop steaming and reach room temperature, it’s time to store them. This cooling time preserves your roast’s flavor and guarantees consistency in every cup.
Does the Material of the Cooling Tray Affect Roast Preservation?
The material influence on your cooling tray matters because it affects thermal conductivity, which impacts how quickly your beans cool. Metal trays, especially aluminum or stainless steel, conduct heat faster, helping you preserve roast profiles better. In contrast, plastic trays have lower thermal conductivity, slowing cooling and possibly altering flavor development. Choose a tray with good thermal conductivity to guarantee rapid, even cooling, maintaining your beans’ desired roast characteristics.
Is There a Specific Size or Shape Recommended for Cooling Trays?
Imagine a tray as a stage for your beans’ final act—size and shape matter. Opt for a tray with ample surface area, like wider or shallower designs, to promote even cooling. When considering tray dimensions, prioritize material considerations that promote heat dispersion. A well-chosen size and shape, paired with the right material, guarantees your beans cool uniformly, preserving roast profiles and release full flavor potential.
Can Cooling Trays Be Diy-Made for Better Results?
You can definitely DIY a cooling tray for better results. Focus on material considerations like using stainless steel or aluminum, which are heat-resistant and easy to clean. Avoid plastics that might warp or release fumes. Build a tray with proper ventilation and a mesh surface to promote even cooling. With some basic tools and careful planning, your DIY cooling tray can match or even surpass store-bought options.
Conclusion
So, now that you’ve mastered the art of cooling trays, you’re practically a coffee alchemist. Who knew that a simple tray could reveal secrets to perfect roast profiles? Just don’t get too smug when your beans taste divine—after all, it’s only a tray, not a miracle. Keep experimenting, stay vigilant, and maybe, just maybe, you’ll elevate your home roasting from hobby to haute couture. Cheers to your caffeinated mastery!