
To make ultra-creamy homemade ice cream, try using natural sweeteners like honey, agave, or stevia to improve texture and reduce added sugar. Store your ice cream properly by pressing plastic wrap directly on the surface and keeping it in the coldest part of the freezer. Incorporating stabilizers and avoiding temperature fluctuations help prevent ice crystals. For the perfect scoop, soften slightly before serving. Keep exploring these tricks to achieve that smooth, luxurious finish every time.
Key Takeaways
- Use natural sweeteners like honey or agave to improve texture and reduce ice crystal formation.
- Incorporate stabilizers or a splash of alcohol to keep ice crystals small and maintain creaminess.
- Transfer ice cream to an airtight container, pressing plastic wrap directly on the surface before freezing.
- Store in the coldest part of the freezer and minimize door openings to ensure consistent temperature.
- Let the ice cream soften slightly at room temperature before serving for a ultra-creamy, scoopable texture.
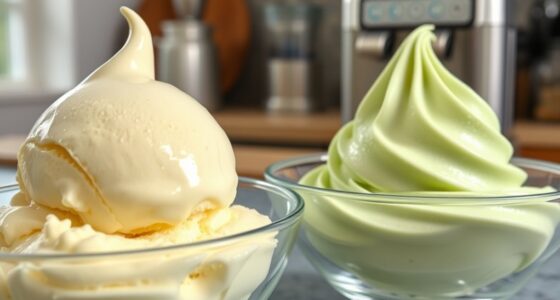
Achieving ultra-creamy homemade ice cream might seem challenging, but with a few secret hacks, you can elevate your frozen treats to restaurant-quality perfection. One of the most effective tips is to experiment with sugar alternatives. Traditional recipes often rely on sugar to create that smooth, velvety texture, but you can achieve similar results using alternatives like honey, agave nectar, or even stevia. These natural sweeteners not only cut calories but can also enhance the creaminess because they interfere with ice crystal formation during freezing. When substituting sugar, keep in mind that some alternatives are sweeter than sugar, so adjust quantities accordingly to avoid an overly sweet or artificial taste. Using sugar alternatives can also help you cater to dietary restrictions without sacrificing that luxurious mouthfeel.
Another key to ultra-creamy ice cream is proper storage. After churning your mixture, transfer it to an airtight container to prevent freezer burn and moisture loss. For best results, press a piece of plastic wrap directly onto the surface of the ice cream before sealing the lid—this minimizes ice crystal formation on top. When storing, keep the ice cream in the coldest part of your freezer, ideally at a consistent temperature around 0°F (-18°C). If your freezer tends to fluctuate, consider placing the container in the back where the temperature is more stable. Remember, homemade ice cream benefits from a little patience; letting it sit at room temperature for a few minutes before scooping helps soften it and enhances creaminess.
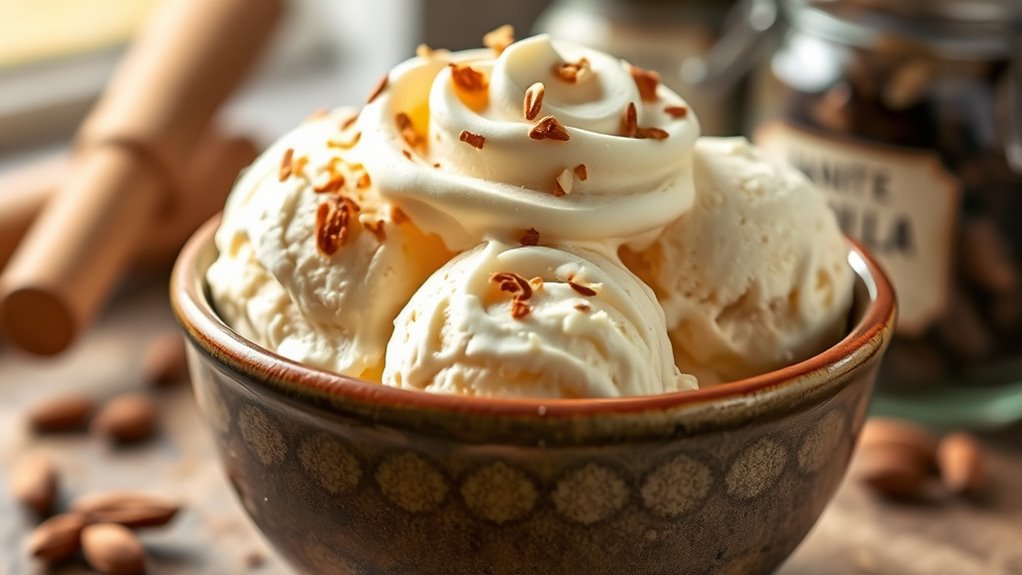
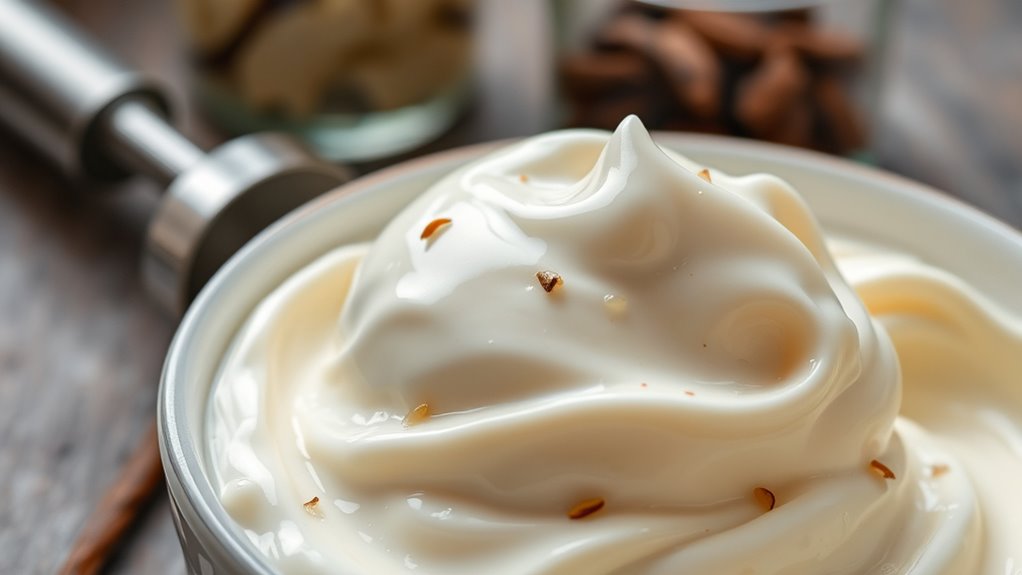
To further improve texture, consider adding stabilizers like a small amount of alcohol or a commercial ice cream stabilizer, which can prevent large ice crystals from forming during storage. Additionally, avoid frequent freezer door openings to maintain a stable temperature. When you’re ready to enjoy your creation, using a hot spoon or warm water to dip your ice cream scoop can make serving easier and prevent melting on contact, preserving that ultra-creamy consistency.

Avacream Ice Cream Stabilizer Mix (8 oz)
Avacream – Ice Cream Stabilizer Mix is a standarized blend of hydrocolloids and emulsifiers from vegetable and seaweed…
As an affiliate, we earn on qualifying purchases.
As an affiliate, we earn on qualifying purchases.
Frequently Asked Questions
Can I Substitute Dairy Ingredients With Non-Dairy Options?
Absolutely, you can substitute dairy ingredients with non-dairy options. Plant-based alternatives like coconut milk, almond milk, or cashew cream work well, offering rich textures similar to dairy. Dairy-free creams, such as soy or oat-based versions, can also give your ice cream that ultra-creamy consistency. Just swap out the dairy for these alternatives, and blend thoroughly to achieve the same smooth, luscious results without any dairy.
How Long Does Homemade Ice Cream Stay Fresh?
Did you know homemade ice cream typically stays fresh for about 1 to 2 weeks? To maximize its shelf life, store it in an airtight container and keep it at a consistent, cold temperature. Proper storage tips include pressing a piece of parchment paper directly on the surface to prevent ice crystals and avoiding frequent opening of the freezer. This way, your ice cream stays delicious and creamy longer.
Is There a Way to Prevent Ice Crystals From Forming?
To prevent ice crystals from forming, you should focus on proper storage methods and churning techniques. Always store your ice cream in an airtight container to reduce moisture exposure, and cover the surface with plastic wrap before sealing. When churning, make sure to beat the mixture until it’s very thick and creamy, which helps prevent large ice crystals from developing. Consistent churning and careful storage keep your ice cream smooth and delicious.
What Equipment Is Essential for Ultra-Creamy Texture?
You might think fancy equipment is needed for ultra-creamy ice cream, but that’s not always true. With the right blender techniques and effective freezing methods, you can attain that silky texture. A good quality blender helps incorporate air and blend ingredients smoothly, while a reliable ice cream maker or even a simple freezer with frequent stirring ensures even freezing. These tools make your homemade ice cream irresistibly creamy without extra fuss.
Can I Add Mix-Ins Without Compromising Creaminess?
You can definitely add mix-ins without losing that creamy texture. To guarantee mix-in compatibility, fold them gently into the ice cream during the last few minutes of churning. For flavor infusion tips, try using small, evenly distributed pieces like chocolate chips, fruit bits, or nuts. Keep in mind that larger or numerous mix-ins may slightly affect creaminess, so balance them carefully to maintain that ultra-smooth finish.

Ice Cream Scoop, 2PCS Nonstick Anti-Freeze Food grade PPR + rubber Ice Cream Scooper with the Hung Hole Design, Comfortable Handle, Dishwasher Safe,Ice Cream Scoops,
Flawless Performance – The ice-cream scoop made by high-quality PPR + rubber with the anti-freeze and anti-slip property…
As an affiliate, we earn on qualifying purchases.
As an affiliate, we earn on qualifying purchases.
Conclusion
Now that you’ve uncovered these secret hacks, your homemade ice cream will feel like a luxurious, velvety cloud melting on your tongue. With each thoughtful tweak, you’re gently guiding your creation toward perfection—like a master artist shaping a masterpiece. So, embrace these tips and savor the journey as your ice cream transforms into a silky, indulgent delight that turns everyday moments into special memories. Enjoy every spoonful of your beautifully crafted frozen treat!

Sistema KLIP IT Food Storage Container, 7 L, Airtight & Stackable, BPA-Free, Clear with Blue Clips
Extra-large food storage container ideal for a variety of foods and ingredients
As an affiliate, we earn on qualifying purchases.
As an affiliate, we earn on qualifying purchases.

33 Super Healthy Ice Cream Recipes: Create Guilt-Free Homemade Ice Cream with Simple, All-Natural Ingredients for Every Diet: Discover Delicious and … Ingredients, Perfect for Every Diet!
As an affiliate, we earn on qualifying purchases.
As an affiliate, we earn on qualifying purchases.