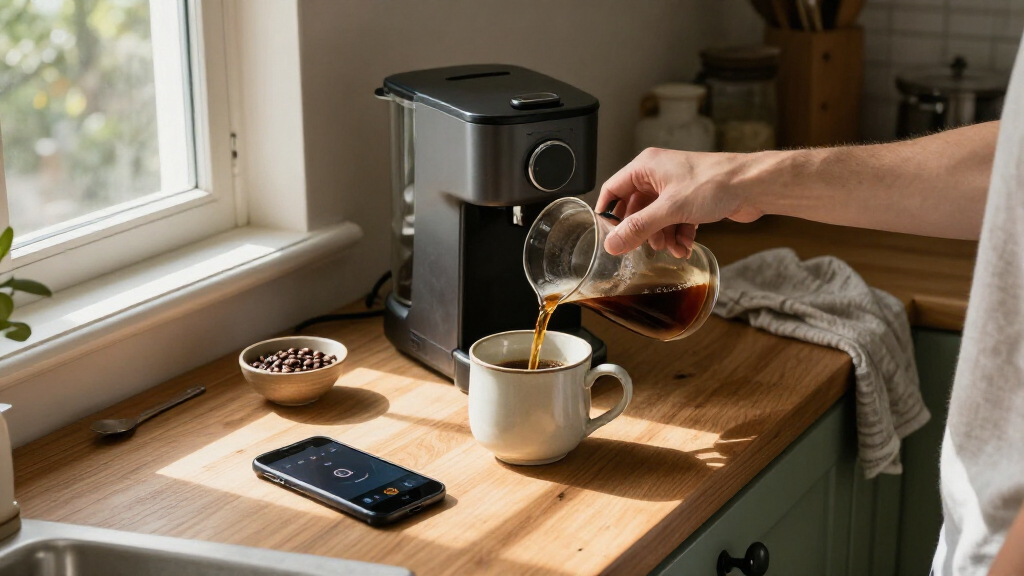
Set up your smart coffee maker so you can start a brew from its app or schedule it for a chosen time. This guide is for first-time owners who can use a smartphone and have access to their home Wi-Fi details. Allow 30-45 minutes for setup, including a cleaning cycle. You will finish with the machine connected, a brew schedule saved, and a clear way to check that it is working.

Get coffee and tea gear delivered free with Prime
- Fast, free delivery on millions of items
- Prime Video, Amazon Music and more included
- Member-only deals all year

GE Profile Smart Grind and Brew Coffee Maker with Podless Single Serve
- ✔ Coffee input: Whole beans
- ✔ Grinder: Adjustable burr grinder, six settings
- ✔ Brewing options: Podless single serve and carafe

Keurig K-Café SMART Single-Serve Coffee Maker, Black
- ✔ Coffee format: K-Cup pods
- ✔ Drink options: Coffee, coffee shots, lattes, cappuccinos, and iced coffee
- ✔ Brew sizes: 2 oz and 4 oz shots; 6, 8, 10, and 12 oz cups

Keurig K-Supreme Plus SMART Single-Serve Coffee Maker, Black Stainless Steel
- ✔ Coffee format: K-Cup pods
- ✔ Brew sizes: Five
- ✔ Strength settings: Five
Difficulty: Beginner | Time: 30-45 minutes
What You’ll Need
Tools & Materials:
- Smart coffee maker and its power cord
- Smartphone or tablet
- Manufacturer’s companion app
- Home Wi-Fi network name and password
- Fresh water and coffee
Knowledge:
- Basic smartphone app use
- How to find your home Wi-Fi network name and password
Check the maker’s manual for model-specific setup, water, and cleaning instructions. Place the machine on a stable, dry surface near an outlet. Keep it away from the edge of a counter and leave space for the lid, water reservoir, and steam or heat to vent. Do not connect it through a smart plug unless the manufacturer explicitly supports that setup; many machines need their own controls to start safely.
GE Profile Smart Grind and Brew Coffee Maker with Podless Single Serve
The GE Profile Smart Grind and Brew earns our top spot because its connected controls support a more flexible brewing system than either Keurig. It grinds whole beans with six adjustable settings and can brew directly into a mug or prepare a 10-cup thermal carafe. That makes it the most adaptable choice here for a household that alternates between quick individual servings and coffee for several people.Its SmartHQ app and voice controls add remote operation to substantial in-machine customization: strength, volume, temperature, bloom time, and grind time. For buyers who want to shape more than just cup size, that range is broader than the K-Supreme Plus SMART’s pod-focused settings. The Keurig K-Café SMART, meanwhile, makes more sense when frothing milk matters more than grinding fresh beans.We should be clear about the tradeoffs. The machine is relatively tall, its connected features require Wi-Fi, and the provided product details give inconsistent measurements for dimensions and capacity. Buyers who prefer K-Cup convenience or want built-in milk frothing should look to the Keurigs instead.
Pros:
- Grinds whole beans with six adjustable settings.
- Brews a mug or a full 10-cup thermal carafe.
- App controls cover strength, volume, temperature, bloom time, and grind time.
- Removable 90 oz reservoir supports less frequent refilling.
Cons:
- SmartHQ app and voice features require Wi-Fi.
- Provided product information lists inconsistent dimensions and capacity measurements.
- Its carafe and grinder make it a larger setup than the single-serve Keurigs.
Best for: Households that want freshly ground coffee, flexible single-cup or carafe brewing, and detailed app-adjustable settings.
Not ideal for: Buyers who rely on K-Cup pods, want a built-in milk frother, or need a compact brewer with unambiguous capacity details.
Bottom line: Choose the GE Profile when app control should complement fresh grinding and flexible brewing for both one cup and a group.
“Choose the GE Profile when app control should complement fresh grinding and flexible brewing for both one cup and a group.”
Keurig K-Café SMART Single-Serve Coffee Maker, Black
If we want more than black coffee from a pod brewer, the Keurig K-Café SMART has the most varied drink menu in this lineup. It makes regular coffee and coffee shots for espresso-style drinks, and its frother handles hot or cold milk and dairy alternatives. That gives it an advantage over the K-Supreme Plus SMART for lattes and cappuccinos, without the GE Profile’s whole-bean grinding or carafe capability.The Keurig app adds personalized brew settings, recipes, scheduling, and remote brewing. Five strength settings and six temperature settings provide room to adjust a cup, while the six cup sizes help match different mugs and routines. MultiStream Technology is designed to wet grounds more evenly; the broader appeal here, though, is the combination of customizable pods and a built-in frother in one machine.The tradeoff is commitment to the K-Cup format and to a connected setup for features such as BrewID and Barista Mode. Its frother is useful only if we want to prepare milk drinks and clean an additional component. For straightforward pod coffee and saved preferences, the K-Supreme Plus SMART is a more focused alternative; for whole beans and batch brewing, GE Profile is the better match.
Pros:
- Built-in frother supports hot and cold frothing with milk or alternatives.
- Makes coffee, coffee shots, lattes, cappuccinos, and iced coffee.
- Offers five strength settings and six temperature settings.
- App supports personalized settings, recipes, scheduling, and remote brewing.
Cons:
- Compatible with K-Cup pods, limiting it to a pod-based workflow.
- Connected features such as BrewID and Barista Mode require Wi-Fi and the Keurig app.
- The frother adds a component to manage even if we usually drink plain coffee.
Best for: K-Cup users who want app-guided coffee customization and the option to make hot or cold milk drinks.
Not ideal for: Buyers who prefer whole beans, want a carafe, or mainly need a compact, straightforward black coffee brewer.
Bottom line: Pick the K-Café SMART when frother-enabled drinks and connected K-Cup customization matter more than fresh grinding or carafe brewing.
“Pick the K-Café SMART when frother-enabled drinks and connected K-Cup customization matter more than fresh grinding or carafe brewing.”
Keurig K-Supreme Plus SMART Single-Serve Coffee Maker, Black Stainless Steel
The K-Supreme Plus SMART is the simpler Keurig choice for buyers who want to customize K-Cup coffee but have little use for a frother. Its BrewID and MultiStream features are designed to identify compatible pods and adjust brewing, while the app can save preferences, schedule brews, and start them remotely. Five cup sizes, five strength levels, and six temperature settings let us tune a drink without moving to a more elaborate machine.Compared with the K-Café SMART, this model gives up milk frothing and the wider café-style menu. In return, it stays centered on brewed pod coffee, including an extra-strong iced coffee option. It also cannot match the GE Profile’s ability to grind beans or brew a full carafe. That makes this a sensible fit when repeatable single servings are the priority, rather than a substitute for an all-in-one coffee setup.Connectivity needs particular attention before choosing it: the brewer requires a 2.4 GHz WPA2-PSK network and does not support 5 GHz Wi-Fi or networks that require a separate webpage sign-in. Those conditions may rule out app control in some homes or shared networks. Buyers with a compatible setup can use the smart functions; anyone who wants fewer network constraints, whole beans, or milk drinks should compare the other two picks.
Pros:
- BrewID and MultiStream are designed to customize brewing for compatible pods.
- Five brew sizes, five strength levels, and six temperature settings.
- Includes an extra-strong iced coffee option.
- App supports remote brewing, scheduling, and saved preferences.
Cons:
- Requires a compatible 2.4 GHz WPA2-PSK Wi-Fi network.
- Does not support 5 GHz networks or networks requiring webpage sign-in.
- Uses K-Cup pods and has no built-in milk frother or carafe.
Best for: K-Cup drinkers who want adjustable strength and temperature, saved app preferences, scheduling, and an iced coffee setting.
Not ideal for: Buyers on 5 GHz-only or portal-login networks, people who want milk drinks, or households needing batch brewing.
Bottom line: Choose the K-Supreme Plus SMART for app-customized K-Cup coffee when your network is compatible and you do not need a frother.
“Choose the K-Supreme Plus SMART for app-customized K-Cup coffee when your network is compatible and you do not need a frother.”
As an Amazon Associate we earn from qualifying purchases.
Before You Start
Confirm that your phone is connected to the home Wi-Fi network and that the machine is within range of the router. Some models only connect to a 2.4 GHz Wi-Fi band, so check the manual if setup cannot find the network. Use the manufacturer’s app from your phone’s official app store. Do not add water or coffee until you have checked the machine’s setup instructions and removable parts.
Step-by-Step Instructions
Step 1: Unpack and inspect the machine
Remove packaging, tape, and any shipping inserts from the coffee maker. Check the carafe, filter basket, water reservoir, and other removable pieces for damage, then fit them as directed in the manual. Set the machine on a level counter with room to open its lid and remove the carafe.
Tip:Keep the manual nearby: buttons and setup modes vary by model.
Check: The machine stands steadily, all shipping material is removed, and removable parts sit in their intended positions.
Step 2: Install the companion app
Find the app named by the manufacturer in your phone’s official app store and install it. Open the app, create an account or sign in if required, and allow only the permissions needed for setup, such as Bluetooth or local network access. Keep your phone connected to your home Wi-Fi.
Tip:Check the developer name in the store listing so you install the manufacturer’s app rather than a similarly named app.
Check: The app opens and displays an option to add or set up a coffee maker.
Step 3: Power on and prepare the coffee maker
Plug the coffee maker directly into a suitable wall outlet and switch it on. Follow the manual to fill the reservoir and run the initial rinse or cleaning cycle, if one is specified. Empty the carafe afterward and let the machine return to its normal ready state.
Tip:Keep the carafe in place during a cleaning cycle if the manual calls for it. Hot water may dispense, so avoid touching it or opening the machine while it runs.
Check: The machine completes its preparation cycle without a warning light or error message.
Step 4: Add the machine in the app
In the app, choose the option to add a device and select the coffee maker’s model or product category. Put the machine into pairing mode using the button sequence in its manual. When the app prompts you, scan a setup code or confirm the device shown on screen.
Tip:Pairing mode may end after a short time. If the app does not find the machine, restart pairing using the manual’s instructions.
Check: The app identifies the coffee maker and advances to Wi-Fi setup or device controls.
Step 5: Connect to home Wi-Fi
Select your home network in the app and enter its password carefully. If the machine supports only 2.4 GHz, select that network or band when prompted. Keep the phone near the coffee maker while the app sends the network details, and wait for the connection confirmation before leaving setup.
Tip:Network names and passwords are case-sensitive. Avoid guest networks that block communication between devices.
Check: The app shows the coffee maker as connected or online, and the machine’s network indicator matches the connected state described in the manual.
Step 6: Set preferences and brew a test pot
Open the device settings and select available preferences, such as time format, brew strength, cup size, or notification options. Add the filter and coffee according to the machine’s directions, fill the reservoir to the amount you plan to brew, and place the carafe correctly. Start a test brew from the machine or app.
Tip:Use the coffee and water quantities recommended by the maker. Starting with a small test brew can help you check the setup before preparing a full carafe.
Check: The machine starts the brew, water flows into the carafe, and the app reports the active or completed cycle if that feature is supported.
Step 7: Create and verify a brew schedule
In the app, open scheduling or automation settings and choose the desired brew time and days. Check whether your model requires coffee, a filter, water, and the carafe to be prepared in advance. Save the schedule, then confirm that the app displays the correct time and repeat days. Set the machine up for a scheduled brew only as the manual permits.
Tip:Check whether the app uses your phone’s time zone or the coffee maker’s clock. Update the machine’s clock after travel or a power interruption if the schedule shifts.
Check: The saved schedule appears in the app with the intended time and days, and the machine is prepared according to its instructions.
Common Mistakes to Avoid
- Trying to pair the machine while the phone is on a different network or too far away. — Connect the phone to the home Wi-Fi and keep it close to the machine throughout pairing.
- Entering the Wi-Fi password incorrectly or selecting an unsupported band. — Check capitalization and spaces, and consult the manual about 2.4 GHz requirements.
- Assuming a saved schedule will brew without preparation. — Check the model’s requirements for water, coffee, filter, and carafe before relying on a scheduled start.
- Using a smart plug to control a machine that requires its own start command. — Use the maker’s app and controls unless the manual specifically approves smart plug operation.
Troubleshooting
Problem: The app cannot find the coffee maker.
Solution: Move the phone closer, enable the Bluetooth or local network permission requested by the app, and restart pairing mode using the manual. If it still does not appear, restart the app and machine, then try again.
Problem: The coffee maker will not connect to Wi-Fi.
Solution: Re-enter the network password and check whether the model requires 2.4 GHz Wi-Fi. Move the machine closer to the router and avoid guest networks or network settings that isolate connected devices.
Problem: The app shows the machine as offline after setup.
Solution: Check that the machine has power and that home Wi-Fi is working. Reopen the app and refresh the device status. If the router or password changed, reconnect the coffee maker through its network settings.
Problem: A scheduled brew starts at the wrong time or does not start.
Solution: Verify the saved time, selected days, machine clock, and time zone. Confirm that the machine has the water, coffee, filter, and carafe it requires, and check the app for an alert or an unmet setup condition.
What Success Looks Like
Your setup is complete when the coffee maker appears online in the app, a test brew runs into the carafe, and the schedule shows the intended time and days. For the first scheduled run, check the app or machine indicator around the selected time and confirm that brewing starts as expected. The coffee maker should also display no unresolved error or warning.
Next Steps
After brewing, discard used grounds and clean the basket and carafe as directed in the manual. Set a reminder for regular descaling based on your water hardness and the manufacturer’s guidance. Review app alerts and schedule settings if you change your Wi-Fi, move the machine, travel across time zones, or experience a power outage. If an error persists after following the model’s troubleshooting instructions, contact the manufacturer’s support team with the model number and error message.
Frequently Asked Questions
Do all smart coffee makers work with 5 GHz Wi-Fi?
No. Some models require a 2.4 GHz network, and others support both bands. Check the machine’s manual or setup screen for its network requirements.
Can I schedule a brew when the coffee maker is empty?
Only if the machine’s instructions allow it and you will prepare it before the scheduled time. Many models need water, coffee, a filter, and a correctly placed carafe in advance. Some have safeguards that prevent a brew when a required item is missing.
Can I start a smart coffee maker while I am away?
That depends on the model and its safety features. Read the manufacturer’s instructions about remote starts and required preparation. Do not leave the machine unattended if its manual advises against it.
What should I do if my Wi-Fi password changes?
Open the companion app or the machine’s network settings and reconnect it using the new password. You may need to put the coffee maker back into pairing mode.
Will the schedule keep working if the internet goes down?
Behavior varies by model. Some machines store schedules locally; others need an internet connection or app service. Check the manual, and use the machine’s controls if the schedule is unavailable.