This guide helps students find and operate a portable coffee maker suited for busy schedules and limited space. It covers choosing the right device, setting it up, and making coffee quickly and reliably. Designed for beginners, this guide ensures you can enjoy fresh coffee on the go with minimal hassle.

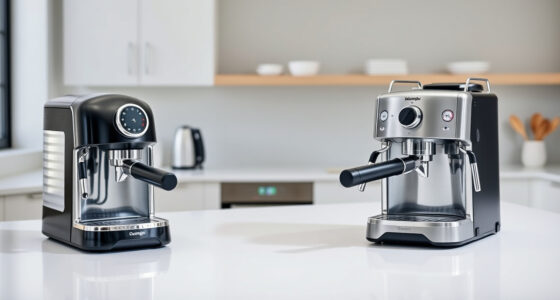
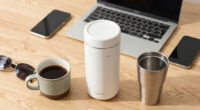
Elite Gourmet EHC111A Personal Single-Serve Compact Coffee Maker Brewer with 14oz Stainless Steel Travel Mug
- ✔ Power: 600 Watts
- ✔ Brew Capacity: 12 oz
- ✔ Included Mug: 14 oz stainless steel travel mug

Elite Gourmet EHC113M Personal Single-Serve Compact Coffee Maker Brewer with 14oz Stainless Steel Travel Mug
- ✔ Power: 600 Watts
- ✔ Capacity: 14 oz
- ✔ Material: Stainless Steel

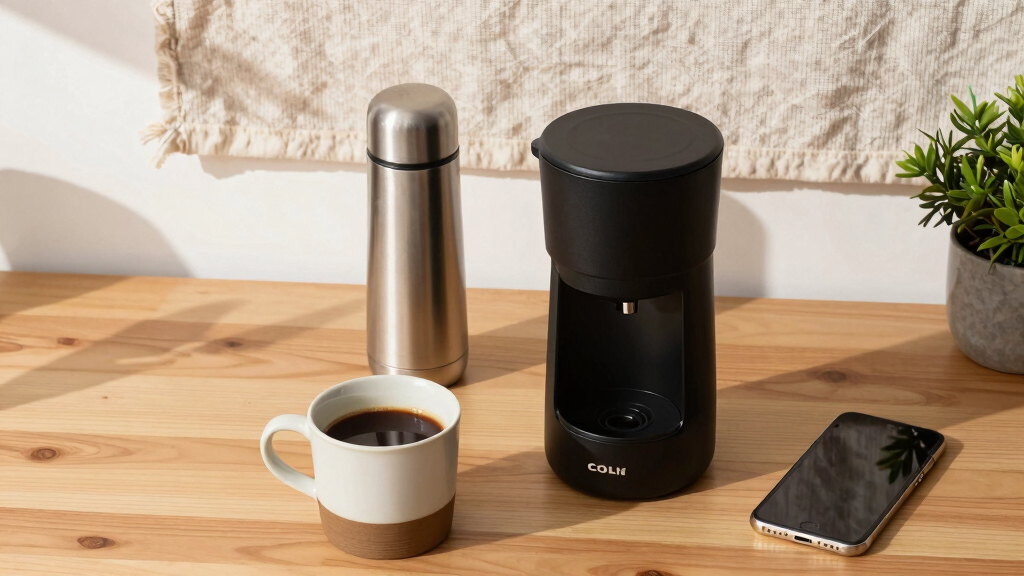
Portable Espresso Machine for Travel, 20-Bar Self-Heating Coffee Maker with USB-C, 150ml, Compatible with Ground Coffee & Nespres…
- ✔ Type: Espresso Machine
- ✔ Operation Mode: Manual
- ✔ Output Pressure: 20 Bars
Difficulty: Beginner | Time: 20-30 minutes
What You’ll Need
Tools & Materials:
- Access to a power source or batteries (depending on device)
- Clean water
- Coffee grounds or pods compatible with the device
Knowledge:
- Basic understanding of coffee brewing preferences
- Familiarity with operating simple electronic devices
Ensure your storage space for the device is clean and dry. Check device compatibility with power outlets if using an electric model. Allow time for initial setup and test brewing before your busy day.

Elite Gourmet EHC111A Personal Single-Serve Compact Coffee Maker, Black
- Fast Brew Time: Brews coffee in under 60 seconds
- One-Touch Operation: Simple single-button brewing process
- Includes Travel Mug: 12oz stainless steel insulated mug
As an affiliate, we earn on qualifying purchases.
Elite Gourmet EHC111A Personal Single-Serve Compact Coffee Maker Brewer with 14oz Stainless Steel Travel Mug
The Elite Gourmet EHC111A stands out for its lightning-fast brewing—delivering a fresh cup in under a minute. Its compact size and included 14oz stainless steel travel mug make it ideal for students rushing between classes or study sessions. Compared with the EHC113M, this model sacrifices some features like a reusable filter but gains in simplicity and speed. It’s best suited for those who prioritize quick mornings and minimal cleanup, though the limited 12 oz capacity means multiple brews are necessary for longer study sessions. Its single-touch operation makes it very user-friendly, but it’s not designed for brewing larger quantities or for use with capsules.
Pros:
- Fast brewing time under 60 seconds
- Includes a durable stainless steel travel mug
- Compact and portable for dorms or travel
Cons:
- Limited to 12 oz per brew, requiring multiple cycles
- Only suitable for single servings
- No built-in water filter
Best for: Students needing a fast, straightforward coffee fix in the mornings.
Not ideal for: Students who want to brew multiple cups at once or prefer capsule compatibility.
Bottom line: A top pick for students who need quick, on-the-go coffee without fuss.
“A top pick for students who need quick, on-the-go coffee without fuss.”
Elite Gourmet EHC113M Personal Single-Serve Compact Coffee Maker Brewer with 14oz Stainless Steel Travel Mug
The Elite Gourmet EHC113M offers a slightly more feature-rich experience with a reusable filter and safety auto-shutoff, making it an excellent choice for students who value eco-friendliness and safety. It brews a fresh cup in under 60 seconds, similar to the EHC111A, but adds a thermal reset switch for peace of mind. Its space-saving design and dishwasher-safe parts make cleaning easy, which is ideal for busy students. However, it’s limited to single servings and requires separate water filling for each brew, which can be inconvenient if you’re making multiple cups. Its focus on safety and reusability makes it better suited for those who want a more sustainable option.
Pros:
- Brews in under 60 seconds
- Includes reusable filter and travel mug
- Space-saving and dishwasher safe
Cons:
- Limited to single servings
- Requires separate water filling each time
- No built-in water reservoir
Best for: Students seeking a portable, eco-friendly coffee maker with safety features.
Not ideal for: Students who need larger capacity or prefer capsule-based brewing.
Bottom line: An eco-conscious, safe, and compact choice for quick coffee brewing.
“An eco-conscious, safe, and compact choice for quick coffee brewing.”
Portable Espresso Machine for Travel, 20-Bar Self-Heating Coffee Maker with USB-C, 150ml, Compatible with Ground Coffee & Nespres…
The Portable Espresso Machine is designed for students who crave café-quality espresso while on the move. Its 20-bar extraction system produces rich crema in just 40 seconds, rivaling espresso bars. The machine’s battery-powered operation with a USB-C port supports fast charging and can brew up to 60 cups per charge, making it ideal for outdoor adventures or long days on campus. Its 150ml water tank means frequent refills, which could be a drawback during long outings. While manual operation requires some effort, the ability to use both ground coffee and Nespresso capsules adds versatility for coffee lovers. It’s perfect for those who prioritize espresso quality over volume and don’t mind a bit of manual work.
Pros:
- Fast 40-second espresso with rich crema
- Compatible with capsules and ground coffee
- Long-lasting battery supports up to 60 cups
Cons:
- Limited water capacity requires frequent refills
- Manual operation may be effortful
- No smart home or app connectivity
Best for: Students who want rich espresso at home or outdoors, and are okay with manual operation.
Not ideal for: Students who prefer drip coffee or need large quantities quickly.
Bottom line: A compact, powerful espresso machine suited for outdoor adventures and espresso lovers.
“A compact, powerful espresso machine suited for outdoor adventures and espresso lovers.”
As an Amazon Associate we earn from qualifying purchases.
Before You Start
Confirm your chosen portable coffee maker matches your lifestyle needs, such as battery-powered or plug-in. Read the manufacturer’s instructions for your specific model. Prepare your coffee supplies and ensure your workspace is clean to avoid contamination or spills.
Step-by-Step Instructions
Step 1: Select the appropriate portable coffee maker
Research models that suit your needs, focusing on size, power source, and brewing method. Choose a device that is lightweight, fits easily into your bag, and has good battery life or easy access to power.
Tip:Look for reviews highlighting durability and ease of cleaning. Consider models with built-in filters or pod compatibility for convenience.
Check: You have a suitable model in hand that fits your space and brewing preferences.
Step 2: Charge or prepare the device
If electric, fully charge the device or ensure batteries are fresh. If battery-powered, insert batteries as per manufacturer instructions. Test the device by turning it on or running a test brew with water to confirm it works.
Tip:Do this step before your busy morning to troubleshoot any issues early.
Check: The device powers on correctly and runs a test cycle without leaks or errors.
Step 3: Add water to the water reservoir
Open the water compartment according to the manufacturer’s instructions. Fill it with fresh, clean water up to the indicated level. Avoid overfilling.
Tip:Use filtered or bottled water for better flavor and to prevent mineral buildup.
Check: The reservoir is filled correctly without leaks, and the device is ready for brewing.
Step 4: Insert coffee grounds or a compatible pod
Place your coffee grounds into the filter basket or insert a compatible coffee pod, following the device’s instructions. Do not overfill to prevent overflow or clogging.
Tip:Use medium grind coffee for best extraction if using grounds.
Check: The coffee holder is securely closed, and no grounds or pods are loose.
Step 5: Start the brewing process
Press the power or start button. Wait until the brewing cycle completes; this may take 2-5 minutes depending on the model.
Tip:Stay nearby to monitor for leaks or malfunctions during initial use.
Check: The device completes brewing without errors, and coffee begins to flow into the cup or container.
Step 6: Pour and enjoy your coffee
Remove the coffee container or cup, carefully pour your brew, and add any milk or sweeteners as preferred.
Tip:Use a heat-proof cup if the coffee is hot to avoid burns.
Check: The coffee is hot, fresh, and ready to drink, matching your taste preference.
Common Mistakes to Avoid
- Overfilling the water reservoir —
Fill water only up to the indicated line to prevent overflow during brewing.
- Using incompatible coffee pods or grounds —
Select pods or grounds recommended by the device manufacturer to avoid jams or leaks.
- Not cleaning the device regularly —
Clean the coffee maker after each use according to instructions to prevent buildup and maintain flavor.
Troubleshooting
Problem: Device does not turn on or power runs out quickly
Solution:
Check battery placement or recharge the device fully. Replace batteries if needed.
Problem: Coffee leaks during brewing
Solution:
Ensure all parts are assembled correctly and tightly sealed. Clear any blockages in the filter or spout.
Problem: Weak or flavorless coffee
Solution:
Use fresh coffee grounds, adjust the grind size, or increase brewing time if possible.
What Success Looks Like
The portable coffee maker brews hot, flavorful coffee in a clean cup, with no leaks or malfunctions. The device operates smoothly, and the coffee meets your taste preferences.
Next Steps
Clean your device after each use to maintain quality. Store it in a dry, accessible place. Experiment with different coffee types and brewing times. Replace batteries or recharge as needed for reliable performance. Use your coffee maker regularly to ensure consistent results.
Frequently Asked Questions
How long does a typical brew take?
Most portable coffee makers take between 2 to 5 minutes to brew a cup, depending on the model and brewing method.
Can I use any coffee grounds or pods?
Use only compatible coffee grounds or pods recommended by the manufacturer to avoid damage or malfunction.
How do I clean my portable coffee maker?
Remove used grounds or pods, wash removable parts with warm soapy water, and wipe the exterior. Follow manufacturer instructions for deep cleaning.
Is it safe to use in a dorm room or small space?
Yes, provided the device is used on a stable surface, away from water spills, and with proper ventilation for hot steam.