To make homemade ice cream so good your friends won’t believe it’s from your kitchen, focus on using high-quality ingredients like fresh dairy and ripe fruits, and chill your mixture well before churning. Follow proper techniques—pre-freeze your bowl, churn until just right, and add mix-ins at the end. Store your ice cream properly with parchment paper on top and let it soften slightly before serving. Keep exploring to discover even more expert tips for perfection.
Key Takeaways
- Use high-quality, fresh ingredients like ripe fruits and premium dairy for rich, authentic flavor.
- Chill your mixture thoroughly before churning to ensure a smooth, creamy texture.
- Add mix-ins during the last few minutes of churning for even distribution.
- Properly pre-freeze your ice cream maker’s bowl and store the finished product in an airtight container.
- Incorporate traditional techniques or unique flavorings inspired by different cultures for standout homemade ice cream.
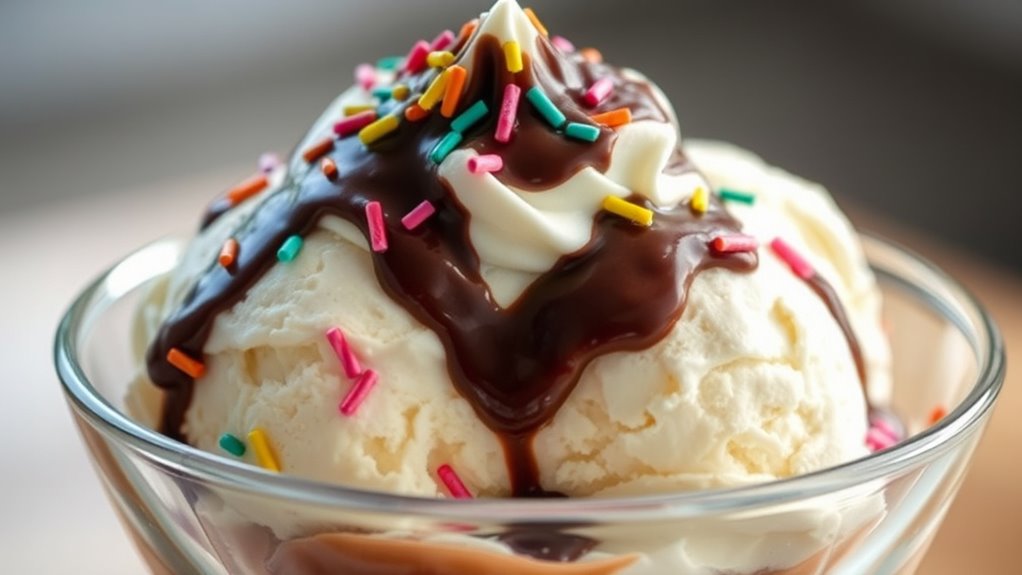
Making homemade ice cream can be both fun and rewarding, but achieving the perfect texture and flavor requires some key tips. As you explore crafting your own frozen treats, it’s helpful to understand the roots of ice cream to appreciate its evolution. Knowing a bit about the ice cream history adds depth to your experience and can inspire creative flavor combinations. Today, many brands and even influencers create sponsored content that showcases innovative recipes and techniques, but the basics remain rooted in centuries of tradition. Understanding this history can help you appreciate why certain methods work best and how your homemade version can rival store-bought varieties.
Homemade ice cream benefits from understanding its rich history and traditional techniques.
To start, pay close attention to your ingredient quality. Fresh dairy and ripe fruits can make a significant difference in flavor and creaminess. When combining ingredients, consider the role of sugar; it not only sweetens but also helps prevent ice crystals from forming, resulting in a smoother texture. Remember, the balance of sweet and flavoring elements is vital, so don’t shy away from experimenting with natural extracts or herbs to elevate your ice cream. While some may be tempted to rely solely on recipes from sponsored content or online tutorials, don’t forget that understanding the ice cream history—how people in different cultures made frozen desserts—can give you unique ideas. For instance, traditional Italian gelato uses less cream and more milk, resulting in a denser, silkier texture. Additionally, understanding the science behind ice cream-making can help you troubleshoot issues and improve your results. Incorporating proper blending techniques also ensures an even distribution of ingredients and a smoother final product.
Furthermore, using a projector’s built-in timer or a dedicated timer can help track your ice cream’s churning time, ensuring optimal texture and preventing overfreezing. Chilling your mixture thoroughly before churning is essential. The colder your base, the better your ice cream will freeze evenly and develop a creamy consistency. If you’re using an ice cream maker, follow manufacturer instructions carefully and consider pre-freezing the bowl for at least 24 hours. Patience is key; rushing the process can lead to icy, less desirable results. Additionally, incorporating mix-ins like chocolate chips, nuts, or fruit pieces should be done towards the end of churning to distribute them evenly without compromising the texture. Using proper storage techniques, such as pressing parchment paper on the surface, helps prevent ice crystals and preserves freshness, which is vital for maintaining quality.
Finally, store your finished ice cream properly. Transfer it to an airtight container and press a piece of parchment paper directly on the surface to prevent ice crystals from forming. When serving, let it sit at room temperature for a few minutes to soften slightly, making it easier to scoop and more flavorful. Remember, the more you learn about ice cream’s history and techniques, the more confident you’ll become in creating homemade versions that will wow your friends. With patience, quality ingredients, and a bit of knowledge, your ice cream will be so good, your friends won’t believe it’s homemade! Additionally, exploring traditional freezing methods from different cultures can give you new ideas for textures and flavors to experiment with.

Cuisinart Ice Cream Maker Machine, 2-Quart Ice Cream, Sorbet and Frozen Yogurt Machine, Fully Automatic Double-Insulated Freezer Bowl Makes Frozen Desserts in Under 30 Minutes, ICE30BCP1, Silver
DOUBLE-INSULATED FREEZER BOWL: This Cuisinart Cuisinart Ice Cream Maker Machine with double-insulated freezer bowl holds a generous 2…
As an affiliate, we earn on qualifying purchases.
As an affiliate, we earn on qualifying purchases.
Frequently Asked Questions
Can I Make Dairy-Free Ice Cream at Home?
Yes, you can definitely make dairy-free ice cream at home. Just choose your favorite dairy alternatives like coconut milk, almond milk, or cashew cream. These work great for creating rich, creamy textures. You can also explore vegan options like soy or oat milk. Blend your ingredients, add flavorings, then freeze and churn. It’s a simple way to enjoy homemade, dairy-free ice cream that rivals traditional versions.
What’S the Best Way to Store Homemade Ice Cream?
To store homemade ice cream, focus on proper freezing techniques and storage containers. Use airtight containers to prevent ice crystals and freezer burn, and leave some space at the top for expansion. Wrap the container tightly with plastic wrap before sealing for extra protection. Keep your ice cream at a consistent freezing temperature, ideally around 0°F (-18°C), to maintain its texture and flavor. This guarantees it stays fresh and delicious longer.
How Do I Prevent Ice Crystals From Forming?
Think of your ice cream as a smooth lake, not a frozen pond with icy patches. To prevent ice crystals, stir your mixture regularly during freezing, which keeps it creamy. Using sugar alternatives can help, but adding natural flavor infusions also helps maintain texture. Make sure to store it tightly sealed, and consider adding a little alcohol or glycerin, which lowers freezing point and keeps your homemade treat irresistibly smooth.
Can I Add Mix-Ins After Churning?
Yes, you can add mix-ins after churning. For the best flavor infusion and even distribution, add your mix-ins during the last few minutes of churning, when the ice cream is soft enough to incorporate them without overmixing. This timing guarantees your mix-ins stay intact and flavorful, giving your homemade ice cream a delightful texture and taste. Just fold them in gently, and enjoy the delicious results!
What’S the Ideal Aging Time for Homemade Ice Cream?
Imagine your homemade ice cream as a freshly painted masterpiece, waiting to settle and deepen in color. The appropriate aging duration allows flavors to meld perfectly, enhancing texture and taste. Typically, an ideal storage period of 4 to 24 hours in the freezer helps develop a richer, smoother ice cream. Patience here ensures every scoop delivers the perfect balance of creaminess and flavor, making it truly irresistible.
Triple Scoop – Premium Vanilla Ice Cream Mix For Ice Cream Maker. Simple, Easy, Delicious. From Gourmet Mix To Maker in 5 Minutes, Makes 2 Creamy Quarts. Made in USA. (1 Pack, Vanilla)
TURN YOUR HOME INTO A GOURMET CREAMERY – Premium ice cream starter with Madagascar bourbon. Homemade ice cream…
As an affiliate, we earn on qualifying purchases.
As an affiliate, we earn on qualifying purchases.
Conclusion
Now that you know these tips, your homemade ice cream will impress everyone. Did you know that over 90% of Americans enjoy ice cream, yet few realize how easy it is to make their own? With just a few simple steps, you can create a treat so delicious, your friends won’t believe it’s homemade. So get mixing, experimenting, and delighting your loved ones—your perfect ice cream adventure starts now!

Tellshun 4 Pack Ice Cream Bowls and Spoons Set, Frozen Yogurt Cups with Spoons Durable Plastic Candy Color Lovely Dessert Bowls DIY Ice Cream Tools For Festive Party Favor Kids Gift
Fine Quality: Made of food-grade Plastic materials, non-toxic and odorless. The perfect, durable, reusable plastic ice cream cups…
As an affiliate, we earn on qualifying purchases.
As an affiliate, we earn on qualifying purchases.

LayYun Ice Cream Containers for Homemade (4 Pack – 1 Quart Each), Reusable PP Plastic Ice Cream Storage Containers for Freezer, Leak-Free Ice Cream Containers with Silicone Lids
Stylish Ice Cream Containers Reusable- Each homemade ice cream container holds 1 Liter (1 Quart) and measures 5.3”…
As an affiliate, we earn on qualifying purchases.
As an affiliate, we earn on qualifying purchases.