With a portable milk frother, you can create café-quality froth anywhere, whether at home, the office, or on vacation. It’s compact and lightweight, making it easy to toss in your bag. You’ll enjoy experimenting with different milk types and enhancing your coffee experience. Plus, its one-touch operation means you’ll whip up creamy foam in seconds. If you want to master frothing techniques and learn more about milk options, there’s plenty more to explore!
Key Takeaways
- The ultra-portable design of the milk frother makes it easy to carry and use anywhere, including home, office, or travel.
- One-touch operation allows for quick and convenient creamy foam production without any hassle.
- Experiment with different milk types, like whole, almond, or oat milk, for unique frothing results.
- Maintain proper frothing technique by filling the pitcher correctly and positioning the wand for optimal aeration.
- Regular cleaning and battery maintenance ensure the frother remains efficient and ready for use anytime.
The Benefits of a Portable Milk Frother

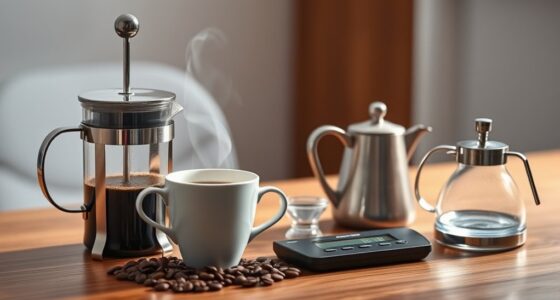
A portable milk frother, like the Mini & Mighty Milk Frother, can transform your coffee experience, whether you’re at home, in the office, or traveling.
Its ultra-portable design, measuring just 4.33 x 1.5 x 0.71 inches and weighing a mere 1.13 ounces, makes it easy to toss in your bag. Lightweight designs are essential for convenience and ease of use when frothing on-the-go. Additionally, frothing your milk at home allows you to experiment with compound butter recipes for a rich and flavorful coffee experience. Maintaining a balanced diet is crucial for overall health, and adding frothed milk can enhance the nutritional profile of your beverages. Furthermore, incorporating emotional regulation strategies while enjoying your coffee can help create a more calming atmosphere.
With one-touch operation, you can whip up creamy foam for lattes or hot chocolate in seconds. Powered by two AAA batteries, it’s perfect for those on-the-go moments, eliminating the need for an outlet.
Plus, this versatile frother accommodates all types of milk, including non-dairy options like almond and soy, catering to various dietary preferences. Cleaning is a breeze—just rinse under hot water and you’re ready to froth again! Additionally, using a unique dinnerware design can elevate your coffee experience, making it even more enjoyable.
Choosing the Right Milk for Frothing

How do you choose the right milk for frothing?
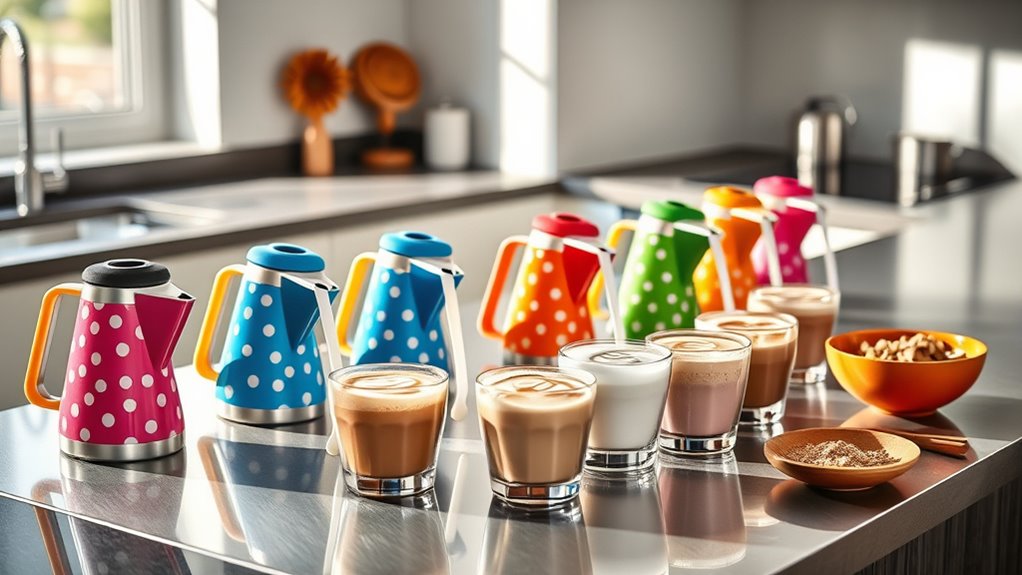
Start with whole milk if you want rich, creamy foam for a latte. Its higher fat content creates a superior texture compared to low-fat or skim options. Additionally, higher fat content is often preferred for achieving a richer froth in various beverages. The soluble fiber present in chia seeds can also support digestive health, making them a great addition to a balanced diet when enjoying a frothy beverage. Chia seeds are also packed with vitamins and minerals, enhancing the nutritional profile of your drink.
If you prefer non-dairy milk, look for barista blends designed specifically for milk steaming. These alternatives, like almond or soy milk, can provide decent foam, but results vary by brand. Remember, the protein content greatly affects foam stability; higher protein means better microfoam. Always use fresh, cold milk to achieve ideal aeration. Additionally, experimenting with different types, including oat milk, can lead to unique flavors and textures that enhance your frothing experience. Just be mindful that some formulations may froth better than others.
Mastering the Frothing Technique

Mastering the frothing technique is essential for creating that perfect cup of coffee. To start, fill your pitcher just below the spout, allowing for proper aeration. Position the steam wand halfway between the center and the wall of the pitcher to create a vortex. Aerate the milk while it’s cool, aiming for a final temperature between 130°F and 150°F for ideal foam. Here’s a quick guide:
| Milk Type | Aeration Time (seconds) |
|---|---|
| Whole Milk | 6 |
| Low-Fat Milk | 4 |
| Almond Milk | 5 |
| Soy Milk | 5 |
| Oat Milk | 6 |
Additionally, incorporating chia seeds into your breakfast can enhance the nutritional value of your meal, providing essential omega-3 fatty acids. After steaming, tap the pitcher to remove larger bubbles and swirl gently until the milk is glossy, setting you up for great latte art. Furthermore, using low carb high protein breakfast ideas can provide a nutritious start to your day, complementing your coffee experience. Ensuring the right milk type is crucial for achieving the desired froth consistency. For an added boost, pair your coffee with easy homemade flautas for a delightful brunch option. A protein-rich option like a Turkey Bean and Tomato Zoodle Bowl can also enhance your meal experience while keeping it healthy.
Common Mistakes to Avoid While Frothing

When frothing milk, it’s easy to make some common mistakes that can ruin your results.
Overfilling or underfilling your pitcher can lead to overflow or poor aeration, while misplacing the steam wand can create a mess. Additionally, using a HEPA filter can enhance air quality in your kitchen, which is important when preparing food and beverages. Improved air quality can contribute to overall well-being, especially when enjoying your favorite frothy drinks. Moreover, ensuring proper airflow around the unit can help maintain a clean environment for your frothing process. Furthermore, just like how interaction with animals can improve emotional well-being in patients, pet therapy can provide a calming atmosphere that may enhance your frothing experience. Incorporating an air purifier with smart features can further improve the air quality around your workspace, ensuring a pleasant environment. Plus, timing your aeration just right is vital for achieving that perfect foam, so let’s explore these pitfalls together.
Incorrect Milk Volume
One common mistake that many people make while frothing milk is filling the pitcher incorrectly.
To guarantee proper aeration and prevent overflow, fill the pitcher just below the spout or three to four fingers from the bottom. Using a pitcher a few ounces larger than your drink size helps accommodate the expanding milk volume during frothing. Comparative advantage in choosing the right pitcher size can lead to a more efficient frothing process. A well-frothed milk not only enhances flavor but also contributes to nutritional diversity in your breakfast. Additionally, using a pitcher made of durable materials can improve your frothing experience by ensuring even heat distribution.
Overfilling can lead to messy overflow, while underfilling prevents the steam wand from being submerged, resulting in excess foam.
After pouring, aim for a thin layer of milk remaining at the bottom of the pitcher to achieve the right balance between froth and liquid.
Experiment with different cup and pitcher sizes to discover the ideal volume for your frothing needs. Additionally, proper techniques in cleaning your equipment can enhance your frothing experience and maintain milk quality.
Wand Placement Errors
Filling the pitcher correctly is just the beginning of achieving perfect frothed milk; wand placement plays a significant role too.
Position your steam wand halfway between the center and the wall of the pitcher to create an effective vortex. Placing it too far to the side can lead to an uncontrolled whirlpool.
Start with the wand slightly submerged to prevent splashing, then lower the pitcher until the wand just touches the surface. Listen for a gentle paper-tearing sound to guarantee proper aeration.
Avoid dead center placement, which causes excessive bubbling; angle it slightly for better foam incorporation. Maintain a consistent angle throughout frothing, and if the texture isn’t right, adjust the wand placement for your desired foam texture.
Timing Aeration Mistakes
Although many focus on the steam wand’s placement, timing your aeration is just as essential in frothing milk. Aerate while the milk’s still cool, ideally before it exceeds 100°F. Delaying aeration leads to large bubbles, while excessive aeration creates stiff foam.
| Timing Issue | Result |
|---|---|
| No aeration | Just hot milk, no foam |
| Delayed aeration | Large bubbles, poor texture |
| Over-aeration | Stiff foam, less desirable |
| Ideal aeration | Silky microfoam, sweet flavor |
Aim for a final temperature between 130°F and 150°F for the best foam. Once you achieve the desired foam, submerge the wand to heat without over-aerating. Happy frothing!
Maintaining Your Milk Frother for Longevity

To guarantee your milk frother serves you well for years to come, regular maintenance is key.
After each use, clean the whisk by rinsing it under hot water while it’s running. This prevents milk residue buildup that can impair performance.
Clean the whisk under hot running water after each use to prevent milk residue buildup and maintain optimal performance.
Store your mini frother in a dry place to avoid moisture, which can lead to rust and damage. Additionally, keep the exterior dust-free by wiping it down with a soft cloth.
Don’t forget to regularly check the whisk attachment for wear and tear; replacing it when needed guarantees peak frothing.
Finally, make it a habit to replace the two AAA batteries periodically, as battery life can vary and affect your frother’s efficiency.
Creative Recipes to Try With Frothed Milk
If you’re looking to elevate your beverage game, experimenting with frothed milk opens up a world of delicious possibilities.
Start with a delightful matcha latte by whisking 1-2 teaspoons of matcha powder with hot water and topping it with frothed milk for a creamy finish.
On chilly days, blend frothed milk with cocoa powder and sugar to create a rich hot chocolate.
For a revitalizing treat, mix frothed milk with cold brewed coffee and a splash of vanilla syrup.
If you prefer dairy-free options, try frothed almond milk with a dash of cinnamon for a tasty latte alternative.
Finally, elevate your smoothies by incorporating frothed milk, fruits, and protein powders for a nutrient-packed drink.
Tips for Perfecting Latte Art at Home

To create stunning latte art at home, start by choosing the right pitcher size—one that’s a few ounces larger than your drink.
Position the steam wand correctly to build a perfect vortex; this will help you achieve that desirable foam texture.
Ideal Milk Volume
Achieving the perfect milk volume is essential for mastering latte art at home. Fill your pitcher just below the spout, about three to four fingers from the bottom. This gives enough space for expansion without overflow.
Use a pitcher that’s a few ounces larger than your drink to allow for proper aeration, expanding the milk volume by about ⅓. Avoid underfilling to guarantee the steam wand is submerged adequately for effective frothing.
Experiment with different sizes to find your ideal milk volume; too much milk can lead to overflow, while too little prevents proper steam incorporation. After pouring, aim for a thin layer of milk left at the bottom—this guarantees the best texture and foam quality for your latte art.
Wand Placement Techniques
Once you’ve mastered the ideal milk volume, the next step is perfecting your wand placement for that flawless froth.
Proper wand placement is essential for effective foam incorporation and achieving that silky texture needed for stunning latte art. Here are some tips to keep in mind:
- Position the wand halfway between the center and the wall of the pitcher to create a vortex without splashing.
- Start with the wand slightly submerged and lower the pitcher gradually until you hear that ideal aeration sound, like tearing paper.
- Maintain a steady angle to avoid large bubbles and guarantee consistent foam incorporation.
As you practice, adjust your wand placement and depth to achieve that smooth, glossy finish.
Happy steaming!
Comparing Different Types of Milk Frothers
How do you choose the right milk frother for your needs? Start by considering the type of frother that suits your lifestyle.
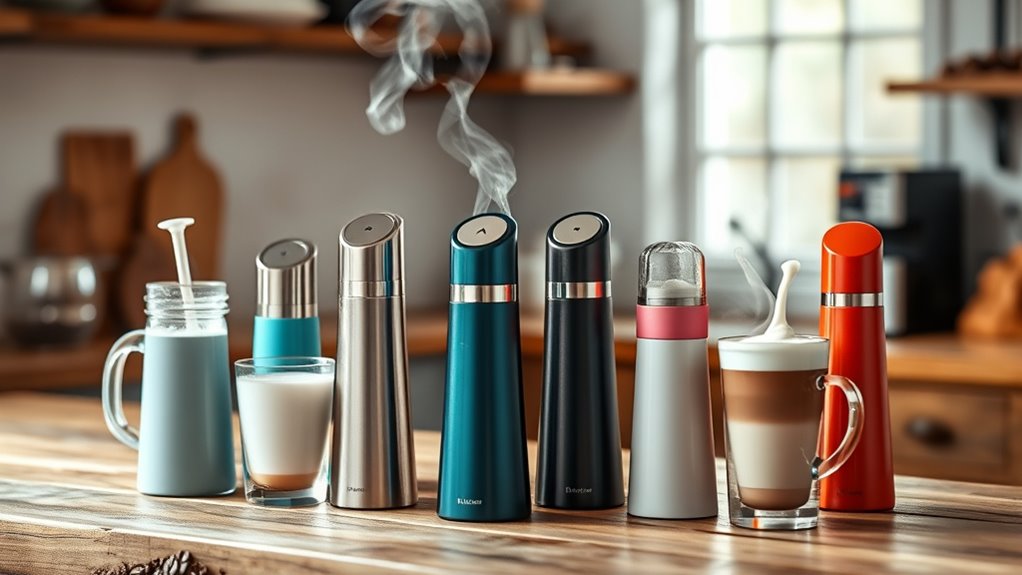
Handheld milk frothers, like the Zulay Mini, are ultra-portable and perfect for frothing on the go. If you’re looking for consistency and power, electric frothers are your best bet, especially for larger quantities. They operate continuously without needing battery changes, making them efficient for frequent use.
Handheld frothers like the Zulay Mini offer portability, while electric frothers ensure consistent, powerful results for larger batches.
For café-quality microfoam, steam wands excel, while immersion blenders offer versatility for mixing and frothing at home.
Don’t forget to think about ease of cleaning, size, and battery life when making your choice. Each option has its pros and cons, so choose what fits your frothing needs best!
Customer Favorites: Top-Rated Milk Frothers
When it comes to frothing milk, you want a tool that combines performance and versatility.
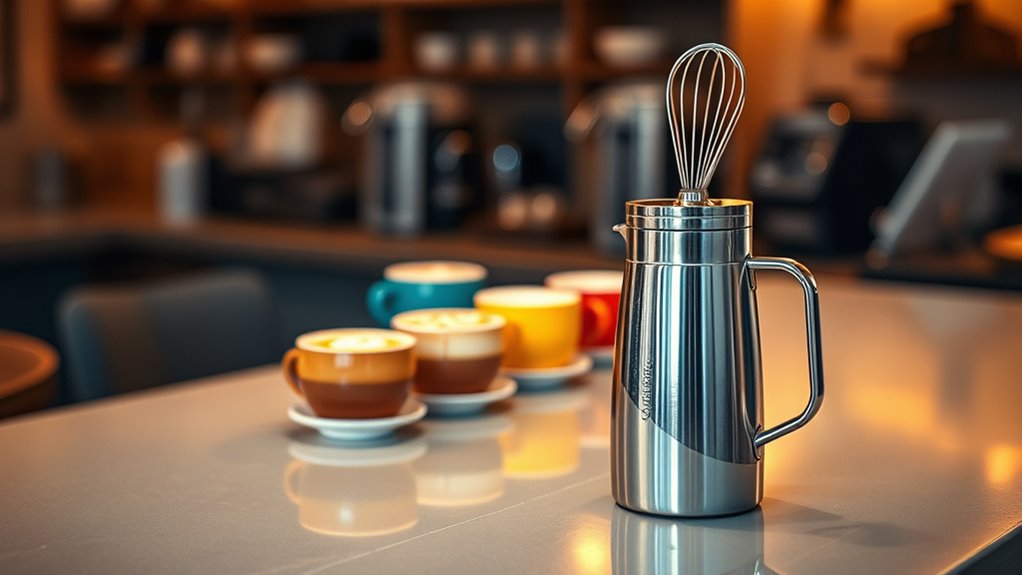
The Mini & Mighty Milk Frother Wand stands out with its ability to create creamy froth from various milk types and even mix powders seamlessly.
Plus, its quality materials guarantee durability, making it a reliable choice for any coffee lover.
Performance and Versatility
While you might think that creating café-quality froth at home requires expensive equipment, the Mini & Mighty Milk Frother Wand proves otherwise with its impressive performance and versatility.
This handheld drink mixer delivers rich, creamy froth in seconds, making it a must-have for your kitchen.
- Froths various types of milk, including whole, soy, and almond
- Blends powders like protein and matcha without extra containers
- Compact design makes it perfect for home, office, or travel
With a customer rating of 4.2 out of 5 stars from over 23,479 reviews, you can trust its powerful and efficient frothing milk capabilities.
Experience the ultimate in versatile performance, and elevate your drink game effortlessly!
Quality and Durability
The Mini & Mighty Milk Frother Wand not only excels in performance and versatility but also stands out for its quality and durability. Made from premium materials, this frother is rust and break-resistant, ensuring it lasts through countless uses. With a 4.2-star rating from over 23,479 reviews, it’s a trusted choice for frothing enthusiasts. Plus, the Zulay Guarantee offers lifetime support, boosting your confidence in its longevity. Its compact design makes it easy to store and transport, appealing to those who value convenience without sacrificing quality.
| Feature | Quality | Durability |
|---|---|---|
| Materials | Premium | Rust-resistant |
| Customer Rating | 4.2/5 | Lifetime support |
| Design | Compact | Break-resistant |
| Versatility | Multiple milks | Home & travel |
Enhancing Your Coffee Experience With Froth
Frothing milk not only adds a delightful texture to your coffee but also transforms an ordinary cup into a café-quality experience.
With the Mini & Mighty Milk Frother Wand, you can whip up rich, creamy froth in seconds, enhancing your lattes, cappuccinos, and more. Its compact design makes it easy to froth milk at home, in the office, or on the go.
Here’s why you’ll love it:
- Versatile: Works with all types of milk, including dairy and non-dairy options.
- Efficient: One-touch operation and easy cleaning—just rinse under hot water.
- Highly Rated: Over 23,000 reviews with a 4.2-star rating praise its power.
Elevate your coffee experience with frothy milk today!
Frequently Asked Questions
What Common Mistake Should Be Avoided When Frothing Milk?
When frothing milk, a common mistake to avoid is filling the pitcher too much or too little. You should fill it just below the spout to allow for proper aeration without overflow.
Also, make sure the steam wand’s position creates an effective vortex; this prevents excessive bubbling. Remember to aerate while the milk’s still cool for the best microfoam.
Finally, tap and swirl the pitcher after steaming for a smooth finish.
How Do You Froth Milk Without It Going Everywhere?
To froth milk without it going everywhere, fill your pitcher just below the spout to prevent overflow.
Position the steam wand halfway between the center and the wall of the pitcher, creating a vortex that minimizes splashing.
Start aerating while the milk’s cool, below 100°F, then submerge the wand to heat it up.
Finally, tap the pitcher to remove large bubbles, ensuring a smooth pour for your drinks.
How to Make Frothy Milk With a Cafetière?
To make frothy milk with a cafetière, start by heating your milk to about 130-150°F for ideal sweetness.
Pour the heated milk into the cafetière, filling it halfway. Secure the lid and pump the plunger up and down vigorously for around 30 seconds. This action incorporates air, creating froth.
Make sure to pour the frothed milk into your drink right away, as waiting can cause the foam to settle. Enjoy your delicious beverage!
Where Can I Use a Milk Frother?
You can use a milk frother at home, in the office, or while traveling.
Whether you’re crafting lattes, cappuccinos, or hot chocolate, it’s perfect for any setting. You’ll find it handy for mixing matcha, protein shakes, or any milk type.
Its compact size makes it easy to carry, and its quick operation means you’re just a button away from café-quality drinks.
Plus, cleaning’s a breeze—just rinse it under hot water!
Conclusion
With a portable milk frother in hand, you can transform your coffee experience anywhere, whether you’re at home or on the go. Just imagine whipping up a creamy latte while camping or enjoying a cappuccino on a sunny park bench. By mastering the frothing technique and avoiding common pitfalls, you’ll impress yourself and anyone you share your drinks with. So grab your frother, choose your favorite milk, and let the magic happen—your perfect cup awaits!