
Cleaning your waffle maker isn’t tricky. Start by unplugging it and letting it cool completely. Use a damp cloth or sponge to wipe down the exterior and plates right after use. For stuck-on batter, apply a bit of cooking oil and let it sit for a few minutes. Don’t forget to use non-abrasive cleaners and tools. Regular maintenance goes a long way, and there’s even more you can do to keep your waffle maker spotless.
Key Takeaways
- Unplug and let the waffle maker cool completely before cleaning to avoid burns and accidents.
- Wipe down cooking plates immediately after use with a damp sponge to prevent residue buildup.
- Use cooking oil on stubborn stuck-on batter to help loosen residue for easier cleaning.
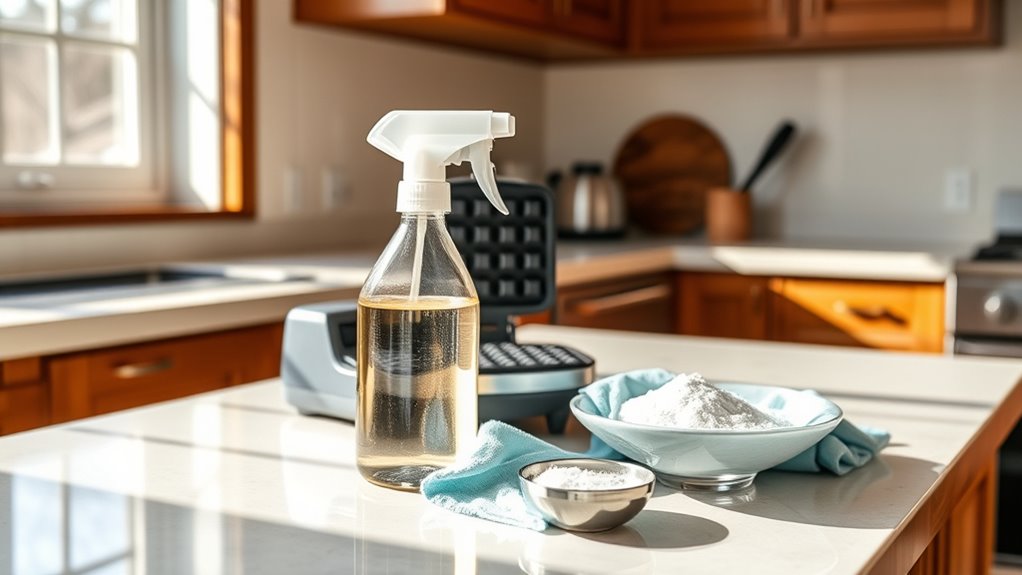
- For tough stains, mix baking soda with warm water to create a paste and apply it to affected areas.
- Regularly inspect and maintain the nonstick plates to prolong their life and improve cleaning efficiency.

Waring Commercial CAC177 Waffle Brush for Waring Waffle Irons. Helps Remove Food Stuck in The Waffle Iron.
Waffle Brush
As an affiliate, we earn on qualifying purchases.
As an affiliate, we earn on qualifying purchases.
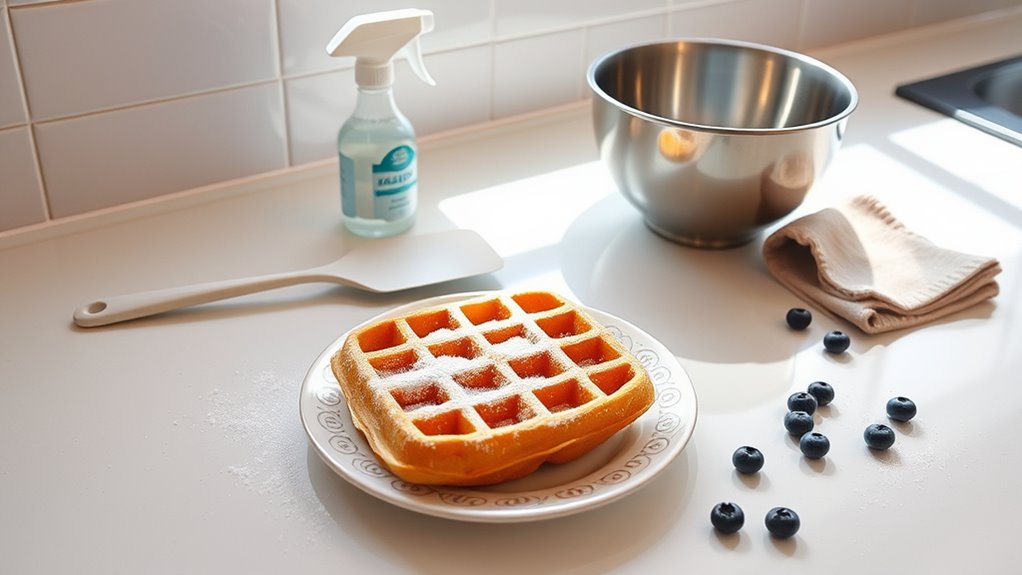
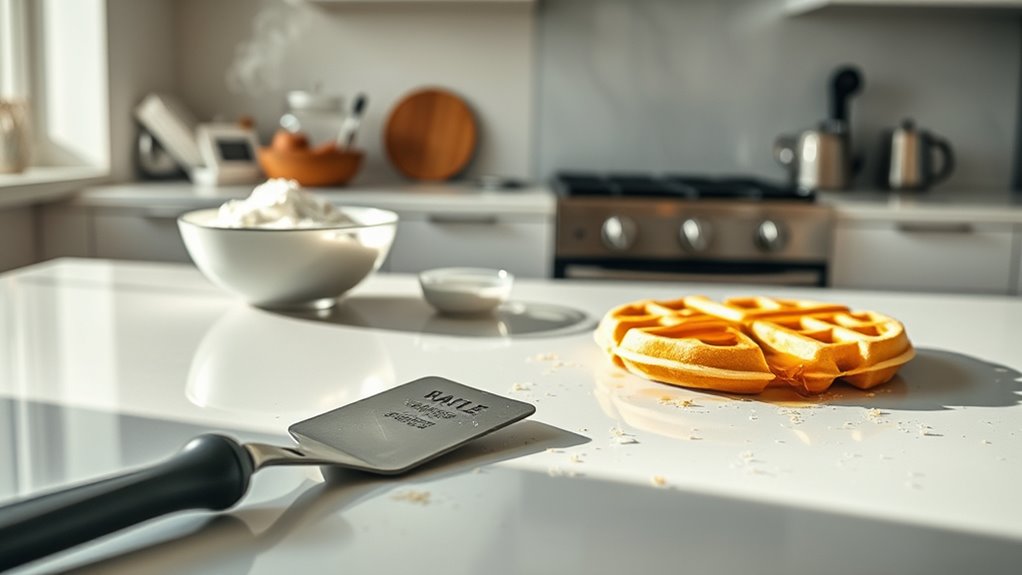
Pre-Cleaning Preparation
Before you plunge into cleaning your waffle maker, make certain to take a few essential steps for a safe and efficient process.
First, unplug the waffle maker right after use to prevent any accidents during cleaning. Wait for it to cool completely—this helps avoid burns and injuries. During this time, consider how relaxation techniques can enhance your cleaning experience. Remember that using dilution guidelines for any cleaning products can help prevent damage to your waffle maker’s surfaces. Additionally, keeping your cleaning environment organized can help streamline the process, much like ensuring drainage features in plant pots prevents overwatering in your indoor plants. Maintaining a clean cooking environment can also enhance image quality by reducing residue buildup.
Unplug the waffle maker immediately after use and allow it to cool completely to prevent burns and ensure safe cleaning.
While you wait, gather your cleaning supplies, including a damp cloth, sponge, and a non-abrasive cleaner.
Once everything’s ready, start by removing any loose crumbs or batter from the plates and exterior. This makes your cleaning effort smoother.
Be cautious not to let water seep into the electrical components while cleaning, as it can affect the appliance’s functionality. Additionally, maintaining a clean cooking environment can help reduce allergen exposure and improve overall health.
Following these steps guarantees a hassle-free experience with your waffle makers.

8- Piece Waffle Makers Clean Brush Kit: Different – Sized Brushes Reach Every Crevice, Towels for Spotless Shine & Sponges to Absorb Debris Instantly. Works with All Waffle Maker Models.
Comprehensive 8 – Piece Kit: Our Waffle Makers Clean Brush Kit-including 1 long – handle brush, 3 lint…
As an affiliate, we earn on qualifying purchases.
As an affiliate, we earn on qualifying purchases.
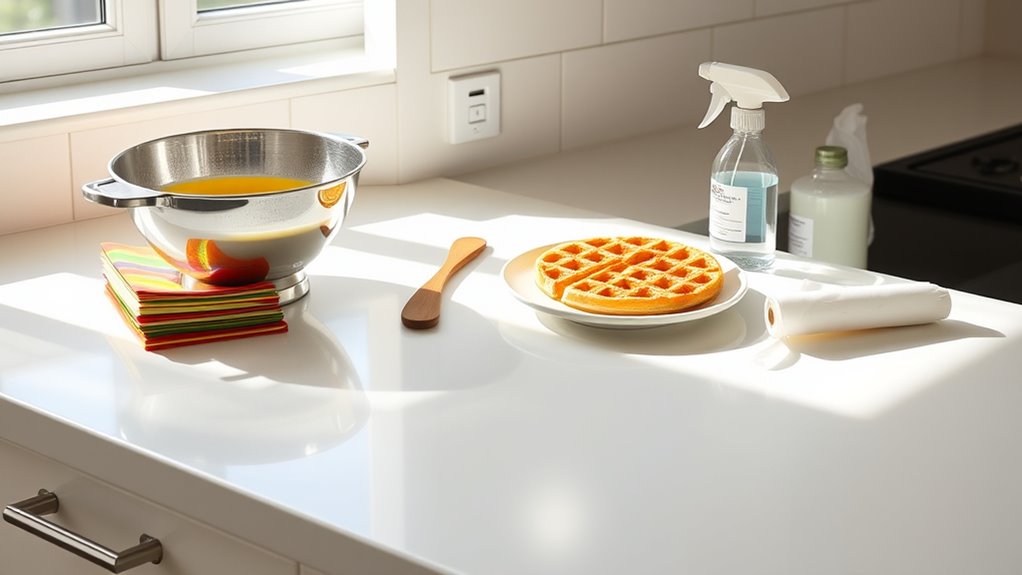
Surface Cleaning Techniques
After making your delicious waffles, it’s time to tackle the cleanup.
Start by wiping down the exterior surfaces with a damp cloth to get rid of any grease. Additionally, maintaining proper airflow around your cooking area can help reduce lingering odors and mess. Installing energy-efficient appliances can also contribute to lower operational costs in the long run. Effective ventilation systems are essential for minimizing moisture and odors in your kitchen. It’s important to remember that regular maintenance of kitchen appliances can prevent future buildup and make cleaning easier.
Don’t forget to clean the cooking plates efficiently for a spotless finish! Additionally, using energy-efficient appliances can help minimize the mess while reducing utility costs.
Wiping Down Exterior Surfaces
To keep your waffle maker in top shape, regularly wipe down its exterior surfaces after each use. Use a damp cloth to wipe away any grease or splatters, ensuring your appliance stays clean and looks new. Regular cleaning helps to reduce allergens that may accumulate on surfaces, contributing to a healthier kitchen environment. Additionally, maintaining a clean kitchen can enhance your overall cooking experience, much like how luxurious Florida hotels provide exceptional amenities for guests. It’s also important to ensure that your kitchen appliances, like your waffle maker, are part of an overall home security system to protect your belongings. Avoid abrasive cleaners or metal scrapers, as they can scratch the surface finish of your waffle iron. If you encounter stubborn stains, apply a non-abrasive cleaner with a soft cloth to maintain its appearance without causing harm. After cleaning, make sure to thoroughly dry off any moisture before storing the waffle maker. This simple routine not only enhances the look but also helps maintain the functionality of your appliance over time. Furthermore, using energy-efficient appliances can significantly reduce home energy consumption in your kitchen. Additionally, incorporating music therapy while cleaning can make the task more enjoyable and relaxing.
Happy cooking!
Cleaning Cooking Plates Efficiently
Keeping your waffle maker clean goes beyond just the exterior; the cooking plates also require regular attention for peak performance.
Start by using a damp sponge or cloth to wipe down the plates immediately after use. This prevents residue from hardening and makes future cleanings easier. Additionally, maintaining optimal performance through regular care will ensure your device functions efficiently. Regular cleaning also helps to prevent stubborn residue from building up over time, which can affect the quality of your waffles. Consistent maintenance, similar to air purifier maintenance, can greatly enhance the lifespan of your waffle maker. Regularly cleaning the plates helps to maintain their freshness and prevents any off odors from developing over time.
For stubborn stuck-on batter, apply a few drops of cooking oil to loosen the residue, then soak briefly before removing it.
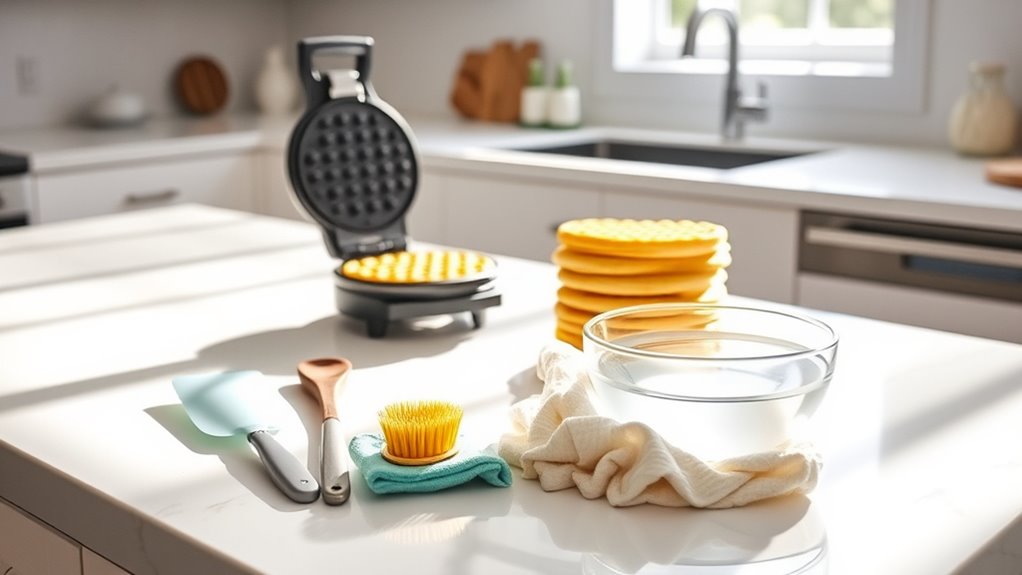
To guarantee every nook and cranny is spotless, use a soft brush or toothpick to clean the grooves without scratching the surface.
Finally, always make certain the plates are completely dry before storing your waffle maker to avoid rust and damage. Fresh orange juice lasts 2-3 days when refrigerated, so it’s a good idea to clean your appliances regularly to maintain their longevity.
A well-maintained machine guarantees your next clean waffle will be a breeze!

XANGNIER 6 Pcs Waffle Makers Clean Brush Kit for Belgian/Classic/Flip/Mini and All Iron Models – Non-Scratch Grid Brush emove Sticky Batter/Burnt Residue – Deep Clean Tool for Waffle Makers
【Complete Waffle Maker Cleaning Solution – Suitable for Every Model】Transform your waffle maker cleaning routine! Our 6-piece kit…
As an affiliate, we earn on qualifying purchases.
As an affiliate, we earn on qualifying purchases.
Plate Cleaning Methods
When it comes to cleaning your waffle plates, you’ve got a couple of effective methods to contemplate. The steam cleaning technique can help loosen stubborn bits, while the oil and soak method makes residue removal a breeze. Engaging in these cleaning practices can enhance your overall creative practice in the kitchen, ensuring that you can focus on making delicious waffles without the distraction of a messy appliance. Regular maintenance of your kitchen tools, such as through essential items cleaning, is crucial for longevity and efficiency. Additionally, keeping your kitchen organized can significantly improve your daily living experience while cooking.
Let’s explore how to use these techniques to keep your waffle maker in top shape.
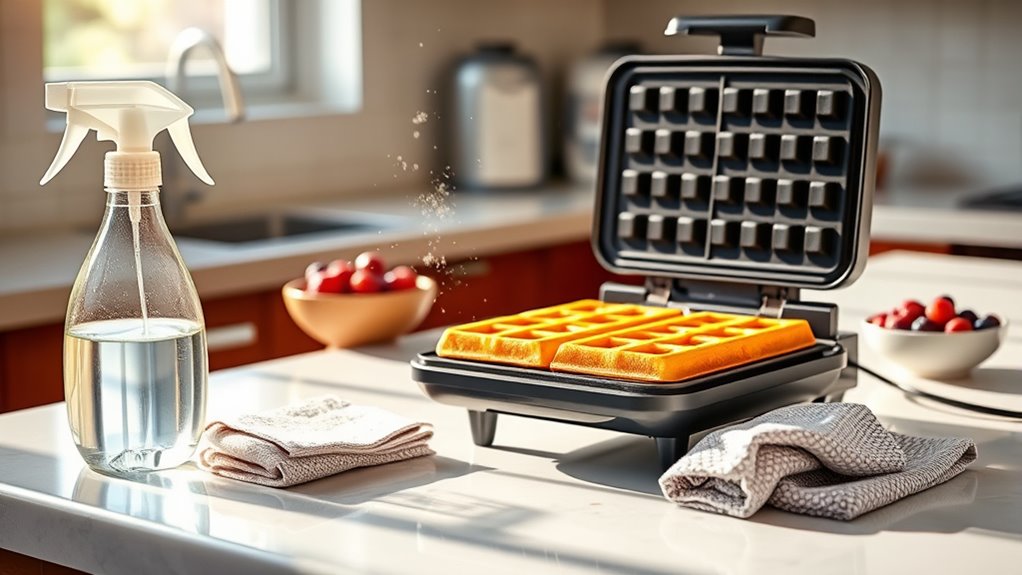
Steam Cleaning Technique
If you want an easy way to clean your waffle iron, the steam cleaning technique is highly effective. Just place a damp paper towel on the warm plates and close the lid. This creates steam that loosens stubborn residue, making your cleaning process a breeze. Allow the steam to work for a few minutes to soften grease and batter. Be cautious when opening the grill afterward, as steam can escape and cause burns. Using this method right after cooking helps tackle crumbs and grease without harsh chemicals. Regular use of the steam cleaning technique can prolong your waffle iron’s life by preventing stubborn buildup.
| Step | Description |
|---|---|
| Damp Paper Towel | Place on warm plates |
| Close Lid | Trap steam inside |
| Wait a Few Minutes | Allow steam to soften residue |
| Wipe Clean | Remove loosened debris with a cloth |
Oil and Soak Method
To effectively tackle stubborn residue on your waffle plates, try the oil and soak method. Start by applying a few drops of cooking oil to the affected areas and let it sit for about 5 minutes. This helps loosen any buildup.
Next, grab a damp cloth or sponge soaked in warm soapy water and gently scrub the plates, avoiding any immersion in water. For tougher stains, consider a baking soda paste; apply it and let it sit for up to 45 minutes.
After cleaning, make sure all surfaces are completely dry before storing your waffle maker to prevent mold and electrical damage. Regularly applying a light coating of cooking oil before each use will also help keep things clean and reduce sticking.
XANGNIER 6 Pcs Waffle Makers Clean Brush Kit for Belgian/Classic/Flip/Mini and All Iron Models – Non-Scratch Grid Brush emove Sticky Batter/Burnt Residue – Deep Clean Tool for Waffle Makers
【Complete Waffle Maker Cleaning Solution – Suitable for Every Model】Transform your waffle maker cleaning routine! Our 6-piece kit…
As an affiliate, we earn on qualifying purchases.
As an affiliate, we earn on qualifying purchases.
Tackling Stubborn Residue
Though stubborn residue on your waffle maker can be frustrating, there are effective ways to tackle it.
Start by applying a few drops of cooking oil directly on the affected areas and let it sit for about 5 minutes. This helps loosen the buildup.
After soaking, grab a damp cloth or sponge and gently wipe away the residue. Avoid using metal scrapers, as they can scratch the nonstick surface.
If residue persists, mix baking soda with lukewarm water to create a paste. Apply it to the stubborn areas and let it sit for up to 45 minutes before wiping clean.
For tight spots, use a toothpick to carefully clear out any trapped batter, ensuring your waffle maker stays clean.
Deep Cleaning Tips
While keeping your waffle maker clean is essential for peak performance, deep cleaning it regularly guarantees that grease and batter don’t accumulate over time.
Always verify the waffle maker is unplugged and completely cool before you start. For tough stains on the waffle plates, mix baking soda with lukewarm water to create a paste. Apply it to the stained areas and let it sit for up to 45 minutes before wiping it away with a damp cloth.
Use a soft-bristled brush or a toothpick to reach into the nooks and crannies, effectively removing stuck-on debris. Remember, never submerge the waffle maker in water, as it can damage electrical components and compromise safety.
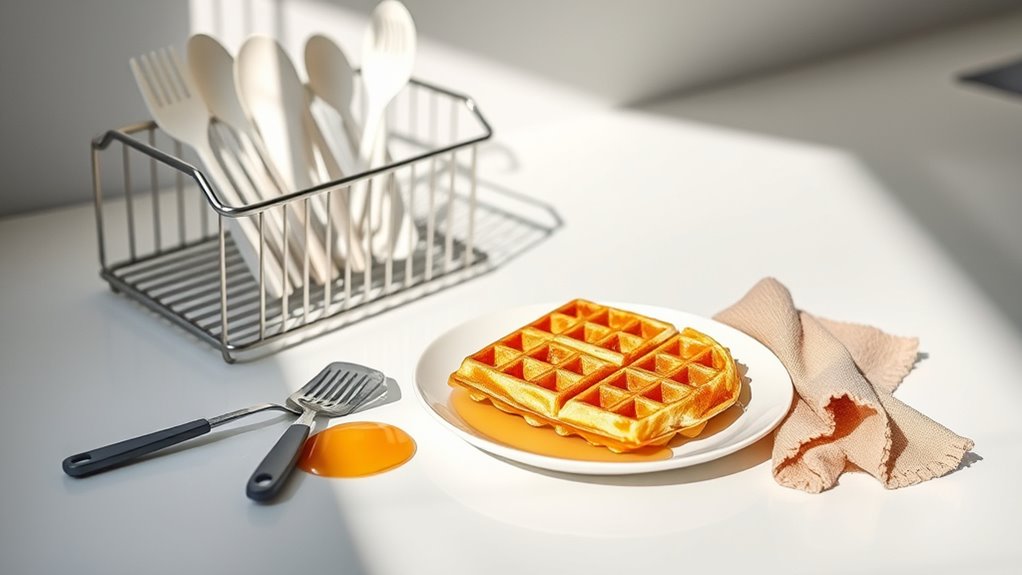
Maintenance Suggestions
Maintaining your waffle maker not only guarantees delicious results but also extends its lifespan. Follow these maintenance suggestions to keep your appliance in prime shape:
Proper maintenance of your waffle maker ensures tasty results and prolongs its lifespan. Follow these tips for optimal care.
- Regularly inspect the nonstick plates for wear and tear to confirm peak performance and safety.
- Always store the waffle maker in a dry place to prevent rust and moisture buildup.
- Use non-sharp utensils, like silicone or wooden spatulas, to clean a waffle without scratching the surfaces.
Additionally, apply a light coating of cooking oil to the grid plates before the first use of the day. This enhances non-stick performance and prevents sticking issues.
Finally, keep your waffle maker covered when not in use to protect it from dust and maintain hygiene.
Community Feedback on Cleaning Methods
Cleaning your waffle maker effectively is just as important as maintaining it. Community feedback reveals that many users find success with the steam cleaning method, using heat and moisture to break down stubborn residue quickly.
Another popular tip involves applying a few drops of cooking oil on stuck-on batter before wiping, which greatly eases the cleaning process. Users often recommend cleaning the waffle maker immediately after use to prevent grease and batter buildup.
For those tricky nooks and crannies, a chopstick paired with a damp paper towel works wonders. Regular cleaning not only enhances the waffle maker’s cooking performance but also extends its longevity, making it essential to adopt a consistent routine.
Frequently Asked Questions
What Is the Easiest Way to Clean a Waffle Iron?
The easiest way to clean a waffle iron is to unplug it and let it cool down.
Once it’s cool, you can wipe the grid plates with a damp cloth or sponge to remove crumbs and grease.
For tougher residue, place a damp paper towel on the hot iron, close the lid, and let steam work its magic for a few minutes before wiping clean.
Regularly wiping after use helps prevent buildup too.
How Do You Remove Sticky Residue From a Waffle Iron?
To remove sticky residue from your waffle iron, start by applying a few drops of cooking oil directly onto the affected area.
Let it sit for about five minutes to loosen the residue.
Then, use a damp cloth or sponge to gently wipe it away, ensuring it’s not too wet.
For tougher bits, wrap a paper towel around a chopstick, moisten it with vinegar, and clean the grid thoroughly.
Regular maintenance helps prevent future buildup.
Why Throw Away the First Waffle?
Think of the first waffle as the practice round in a game; it sets the stage for what’s to come.
You should throw away the first waffle because it often cooks inconsistently, resulting in poor texture and doneness.
It can stick due to leftover oil or batter, making cleanup a hassle.
Discarding it not only improves the quality of the next waffles but also guarantees a better cooking surface for ideal crispiness.
How to Get Burnt Waffle Out of Waffle Maker?
To get a burnt waffle out of your waffle maker, first let it cool completely.
Then, gently pry it out using a non-sharp utensil to protect the nonstick surface.
If it’s stubborn, apply a few drops of cooking oil and wait five minutes before trying again.
For really tough bits, a soft brush or damp cloth can help while the plates are still warm.
Avoid metal tools and harsh chemicals to keep your waffle maker in good shape.
Conclusion
In the end, keeping your waffle maker clean may seem like a chore, but it’s a small price to pay for delicious breakfasts. While stubborn residue can test your patience, the satisfaction of a sparkling appliance makes the effort worthwhile. Embrace the quick cleanup tips alongside deeper cleaning methods, and you’ll find that maintaining your waffle maker is as enjoyable as the waffles themselves. After all, a clean maker equals a delightful morning treat waiting to happen.